Choosing and Laying Tile for the Kitchen Floor
We finished up the kitchen a week or so ago (okay, there’s one spot left to paint) and I am so obsessed with the space. It’s easy to cook in, it’s easy to stay organized and it’s easy to clean. That last one is key. Do you remember the original kitchen? It couldn’t ever feel clean. Even after we rearranged and added temporary countertops, the floor was coated with a layer of grime. Last spring we hosted Austin’s side of the family for a grill out and the morning of the gathering, I scrubbed that floor for 4 hours. It was a huge improvement and it still looked disgusting. 1970s lime green peel and stick tile probably never looked awesome though. Having a kitchen floor that could look, feel and actually BE clean was a huge plus of stripping the kitchen down and starting from scratch.
Picking out the tile was harder that I expected because it was also one of the first things we had figured out. How does that work? When we were working on the laundry room, I really wanted to use a pricey marble hexagon tile with a wood inlay. Because we wanted to keep costs as low as possibly in that room, we made a deal that we’d use the hex tile in the kitchen. It informed the rest of my design ideas. Remember this post? I still think the mood board is beautiful but other than the appliances and the use of stock cabinets, nothing ended up being the same. And it started when we decided to save money on floors in the kitchen too. We chose a 12x24-inch charcoal tile. It was $13 per square foot cheaper than the tile we had previously picked out and the scale of it also made it easier to work with—less tile and a simple shape means for less time setting them. The new tile had us rework other parts of the design and we created something we love even more.

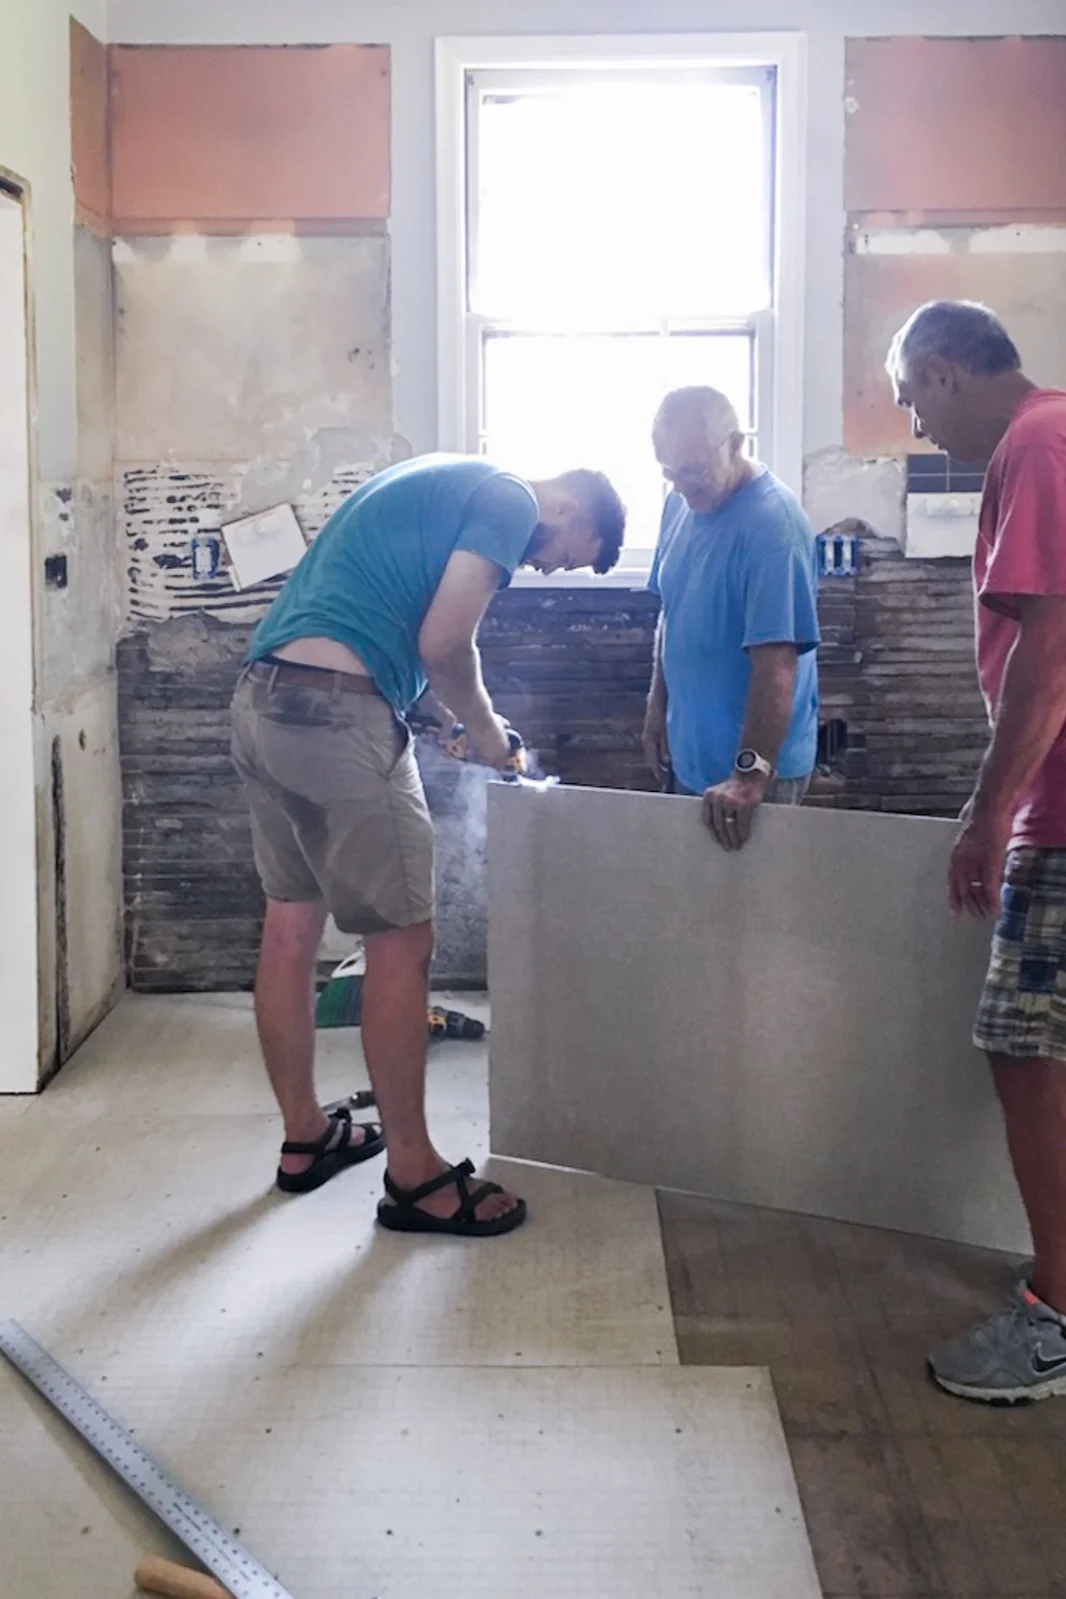

Getting the kitchen demoed and the flooring installed was an important first step of a really ambitious to-do list before our daughter arrived. With the age of the house (118 years old), we thought that the floor would have a significant slope to address. It was pretty surprising when we checked for level and found only slight variations in slope. If there had been a more drastic problem, it would have required a liquid floor leveler. We were able to bypass that step, thankfully, and started the flooring project by installing Hardibacker cement board ideal for laying tile. Austin, his dad and his uncle installed the new cement board with screws. Where cuts had to be made, they used a straight edge and a utility knife to get the board to fit perfectly in the space.

After getting the backer board down, Austin and his dad started laying out the tile to get a game plan of what cuts to start with. To figure out where the first full tiles would start (assuming we’d need to make cuts on the initial row), they temporarily placed the tiles from west to east with 3/16 T-shaped tile spacers.

When they got to the other side of the room they began laying the tile, starting with the first row without cuts. To set the tile in place, they applied thinset to a small area on the floor with a flooring trowel and then placed the tile down. They used the same T-shaped tile spacers between the tiles to make sure everything lined up. To get the staggered look, they used a measuring tape and a China marker to mark the middle of the tiles. The next row they lined up the space between the tiles with the middle mark of the previous row.

Once all of the full tiles were in place, they measured the remaining areas where tile needs to be laid and used a 7-inch tile saw to cut the tile to size.


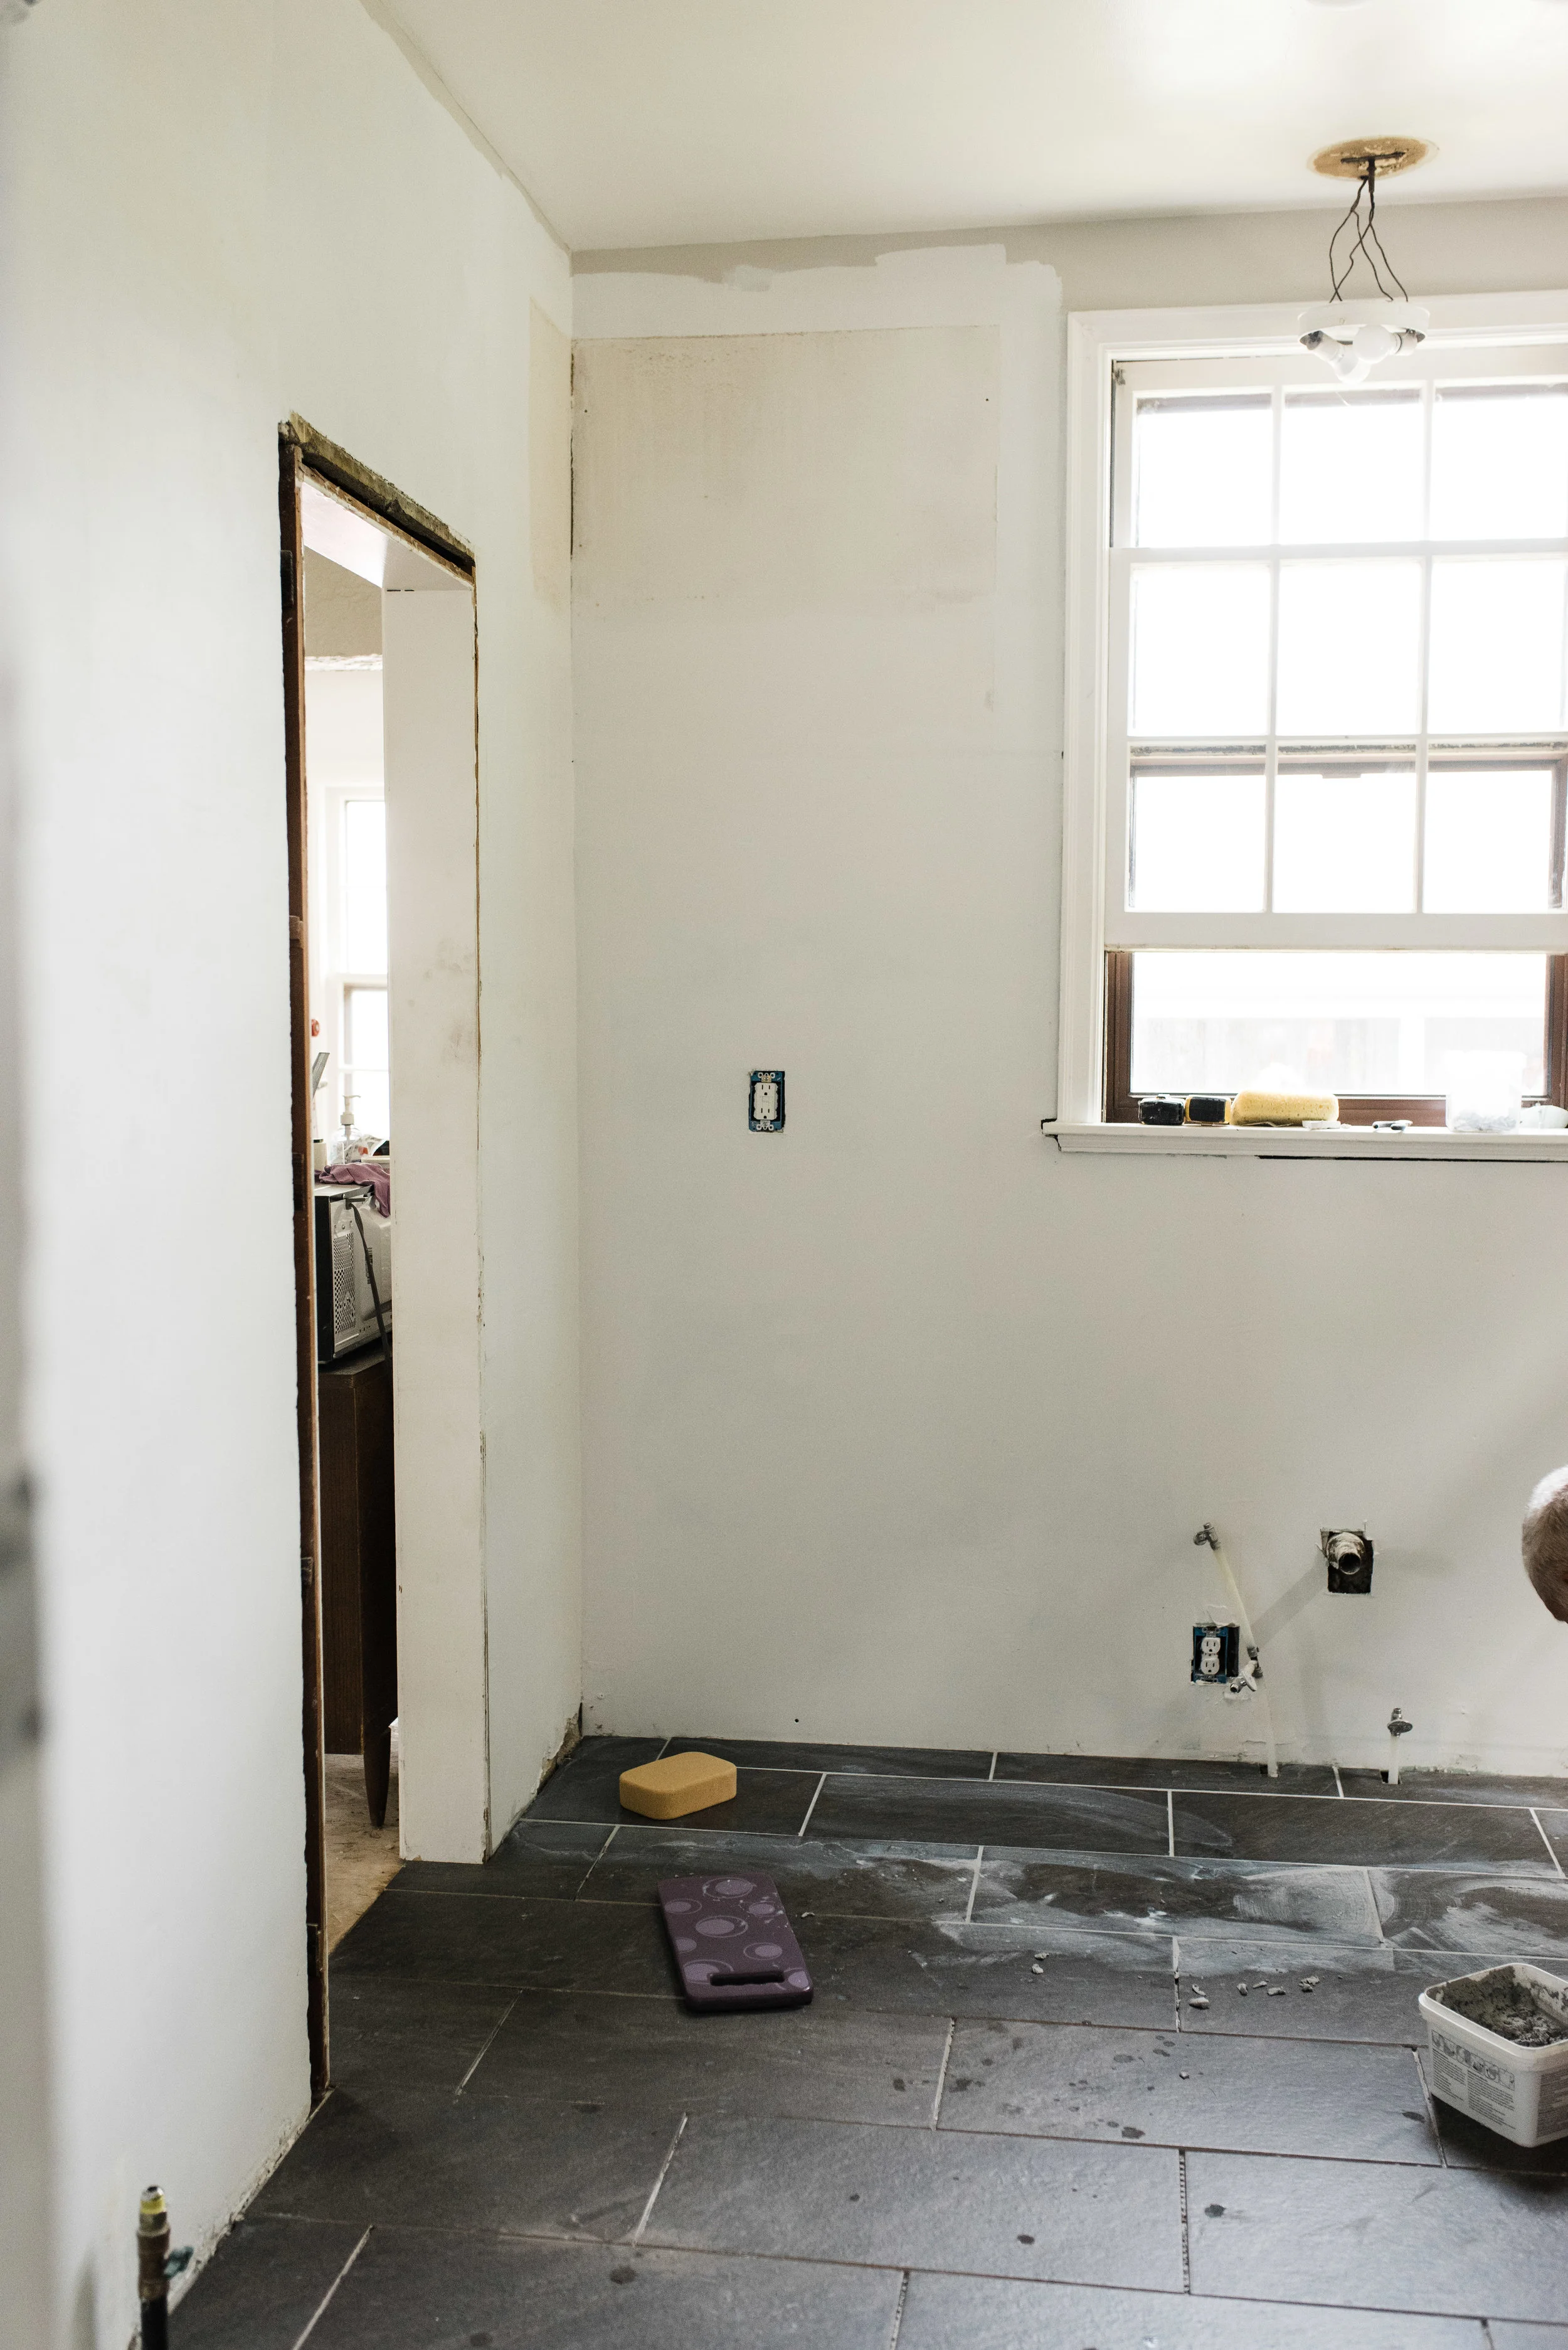
Can we talk about this pantry? This give you a picture of what living without a kitchen for 3 months was like. Also, look at the wall where the trim used to be. It’s crazy to see how homes are actually put together. In this case, just a million shim boards.
The cuts were placed and the day was done. The thinset has to have at least 24 hours to dry before the tile can be grouted.

Roger used a grout float to apply premixed grout to the tile. You get a good amount of grout on the float and then work it over the edges of the tile. We chose to use premixed thinset and premixed grout for a few reasons. The dust from the powder is not only messy and could make other rooms of the house dustier but it’s also not safe to breathe in those particles, especially when pregnant. It’s also a bit more convenient to have to mix it and hopefully get the same consistency each time. The down side is that it costs more and you end up with a hefty plastic container afterward instead of just a paper bag. Thankfully the containers can be reused as storage in the basement.

Austin followed his dad around with a grout sponge and bucket of water to wipe up the excess grout. One of our learning moments early on in our home renovation was grouting the guest bathroom upstairs. Austin started the project at dusk one night in the summer. We didn’t have air conditioning and we didn’t have a working light in the bathroom. Between those two things and us running out of grout 2/3 of the way through, some of the grout was way too dry when I started to clean it with the sponge. I ended up scrubbing way too hard to remove excess grout from the tile and messed up the grout lines. From then, we knew that working in daylight, on a day that isn’t the hottest of the year and quickly following the grout was the best for the end result. Common sense that we learned the hard way.

There was a little residue from from the grout left over on the tile so I used my favorite tile cleaner (not an affiliate, just a fan) and scrubbed the floors once the grout had set.
We didn’t walk on the tile for a few days and then applied a grout sealer to keep the grout easy to clean. Getting the floors done so quickly spurred us onto next part of the process, the cabinet installation.
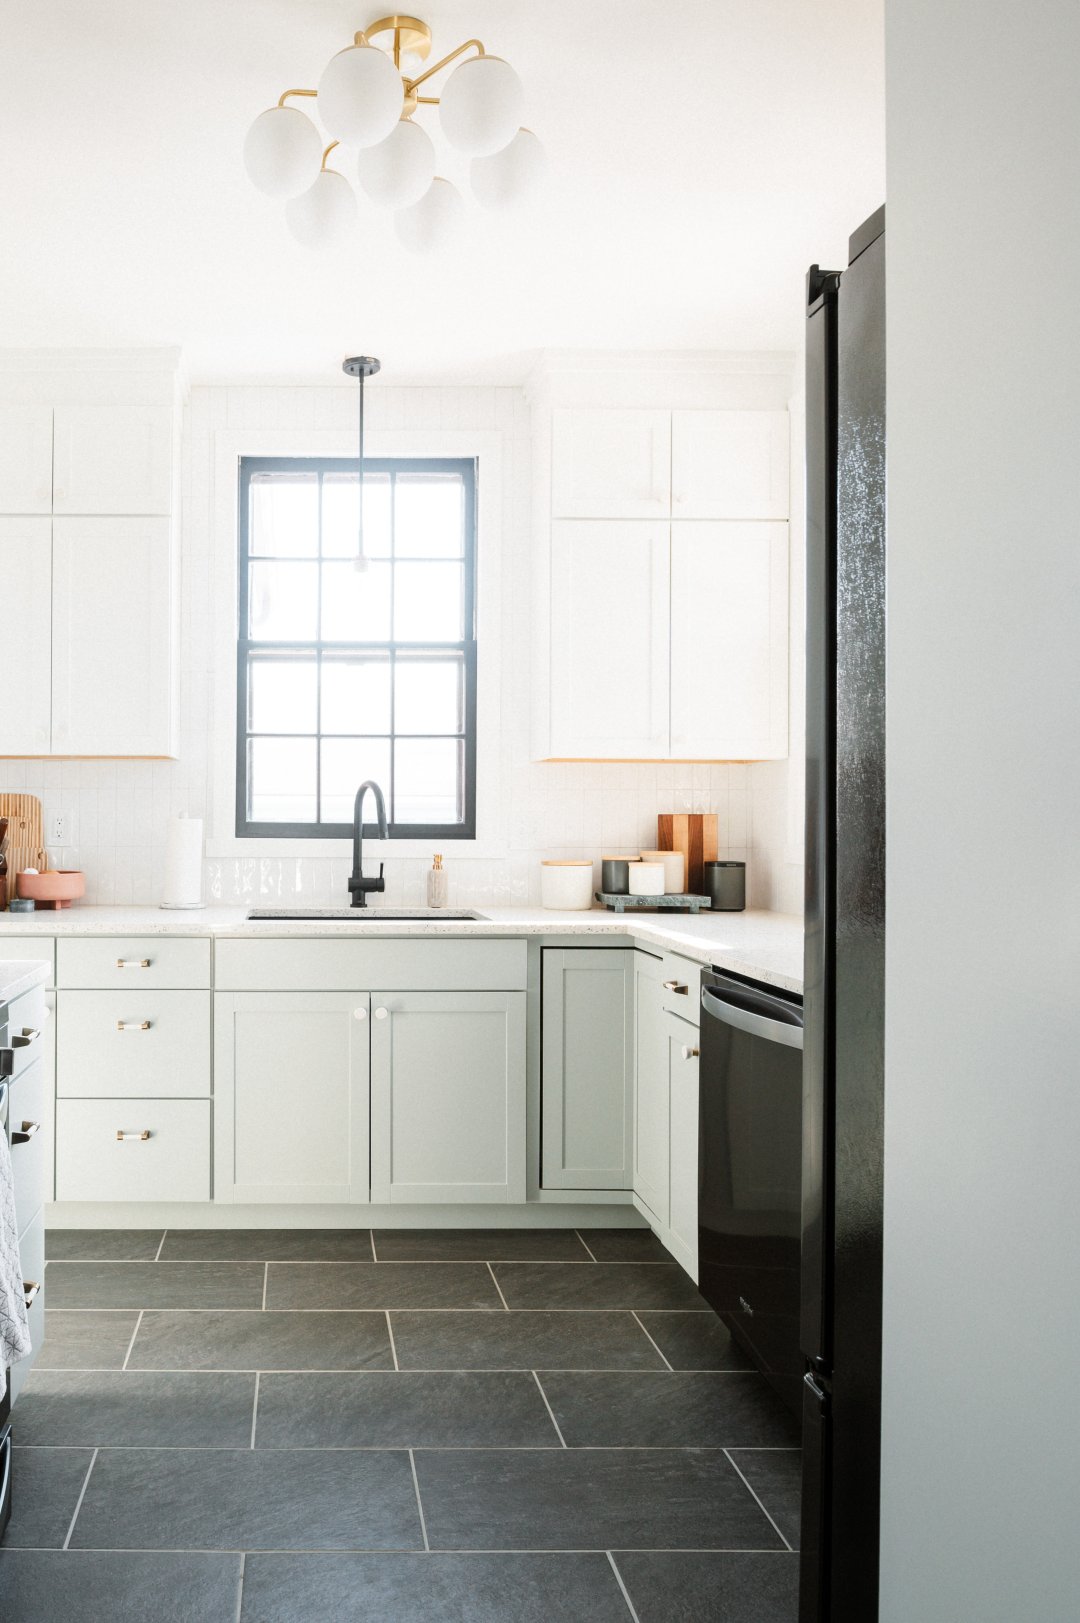
I love the floors so much. The dark, large tiles feel really current but also pretty standard in a way that feels timeless. Had we gone for the marble hex tile, I might be itching to change in the next 10 years since it’s pretty trendy. This charcoal 12x24-inch tile pulls together all of the dark appliances, fixtures and accents in the space without making the room feel bottom heavy. It talk about how much I love the kitchen floor almost daily. It was easy, inexpensive, in stock and impactful. All the best things.
Stay tuned this week for more how-tos and the official kitchen reveal—3 more kitchen posts are coming!
MATERIALS
HardiBacker Fiber Cement Board
Type 1 Mastic
Style Selections Charcoal 12x24-inch Tile
3/16 T-Shaped Tile Spacers
Premixed Grout
Grout Sealer
TOOLS
Steel Square
Utility Knife
Flooring Trowel
Red China Marker
7-inch Tile Saw
Grout Float
Water Bucket
Grouting Sponge
This post was sponsored by Lowe’s. Thank you for allowing us to share about the brands we use and love during our home renovation process to help support our family and our projects. Even though we partnered with them, the thoughts and design are all my own.