Our DIY Modern Kitchen Renovation
This week is the 1-year anniversary of us owning our home and I thought it’d be the perfect time to reveal our recently finished kitchen. When we bought our house, renovating the kitchen wasn’t even on the list. There was so much else to do in our fixer upper, but a year later, we have a completely new space. How does that even happen?
Going from just rearranging the kitchen and getting new appliances last winter to completely gutting the room in August was only possible by doing a low-budget renovation. Everything other than electrical and the countertops were done by us and our families. And other than the countertops, everything we chose from the tile to the cabinets to the fixtures was a budget-friendly option. Budget-friendly is of course, subjective. I added it up and other than appliances our kitchen was a little under $8000. Not pocket change but not bad when it looked like this just a few months ago:

And before that:


We kept the cabinet layout the same as our rearranged footprint from last year for the most part. Because of the high ceilings, I wanted to add a second layer of cabinets. Cabinet units with molding going all the way to the ceiling feel more custom than a floating wall cabinet to me. To do this we got 30-inch high wall cabinets and joined them with 14-inch high wall cabinets. I outlined how we did that here. Then Austin took primed, flat molding pieces and turned it in custom molding that hid discrepancies in ceiling height.

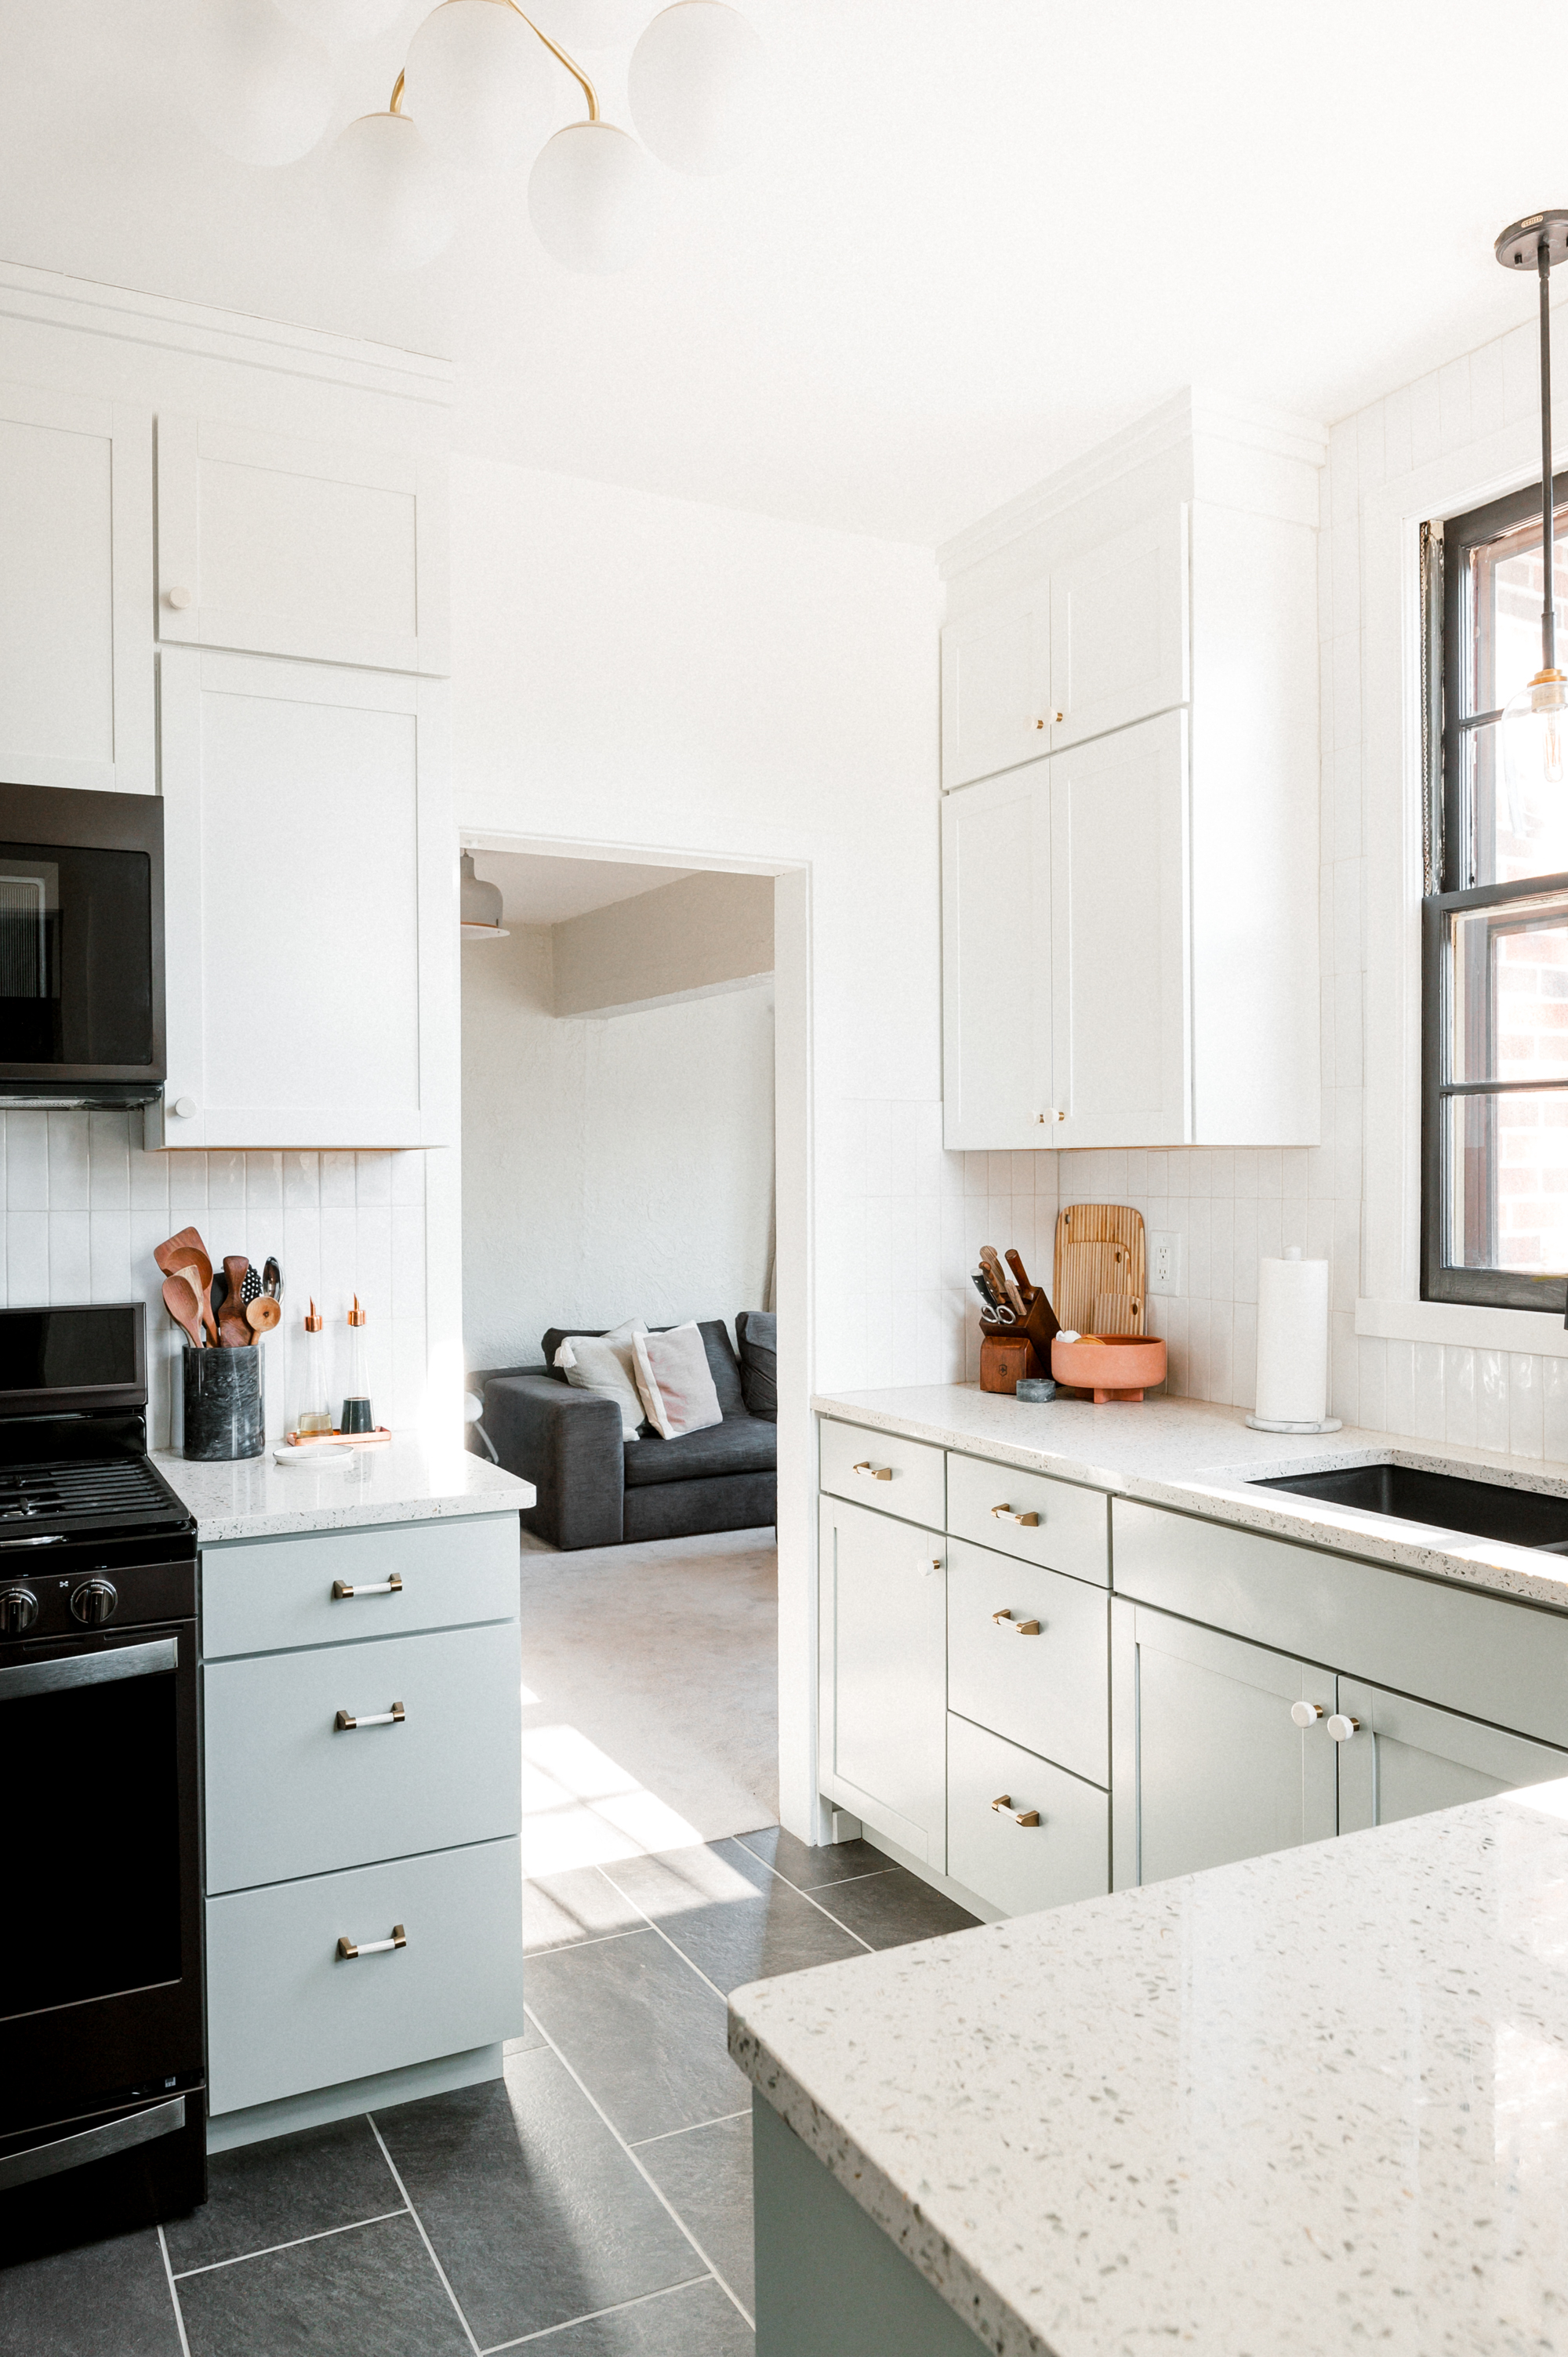
A big decision we had to make was whether or not to use the farmhouse sink that came with the house. We were so excited about it when we first moved in but realized how much the extra counter space it took up. I miss it but I also love having the additional feet of counter and the ability to wipe the counters into the undermount sink. The black faucet looks so good with the sink too.


The layout in our kitchen doesn’t let the refrigerator feel incorporated into the space since it’s between two doors. To help it feel more built-in, we converted a standard wall cabinet and two maple boards into a fridge enclosure. Next to it, Austin used scraps from the fridge cabinet to make a 42-inch support for a small surface for a keys right inside the door. Some day I’ll outline the process in a post. Someday.

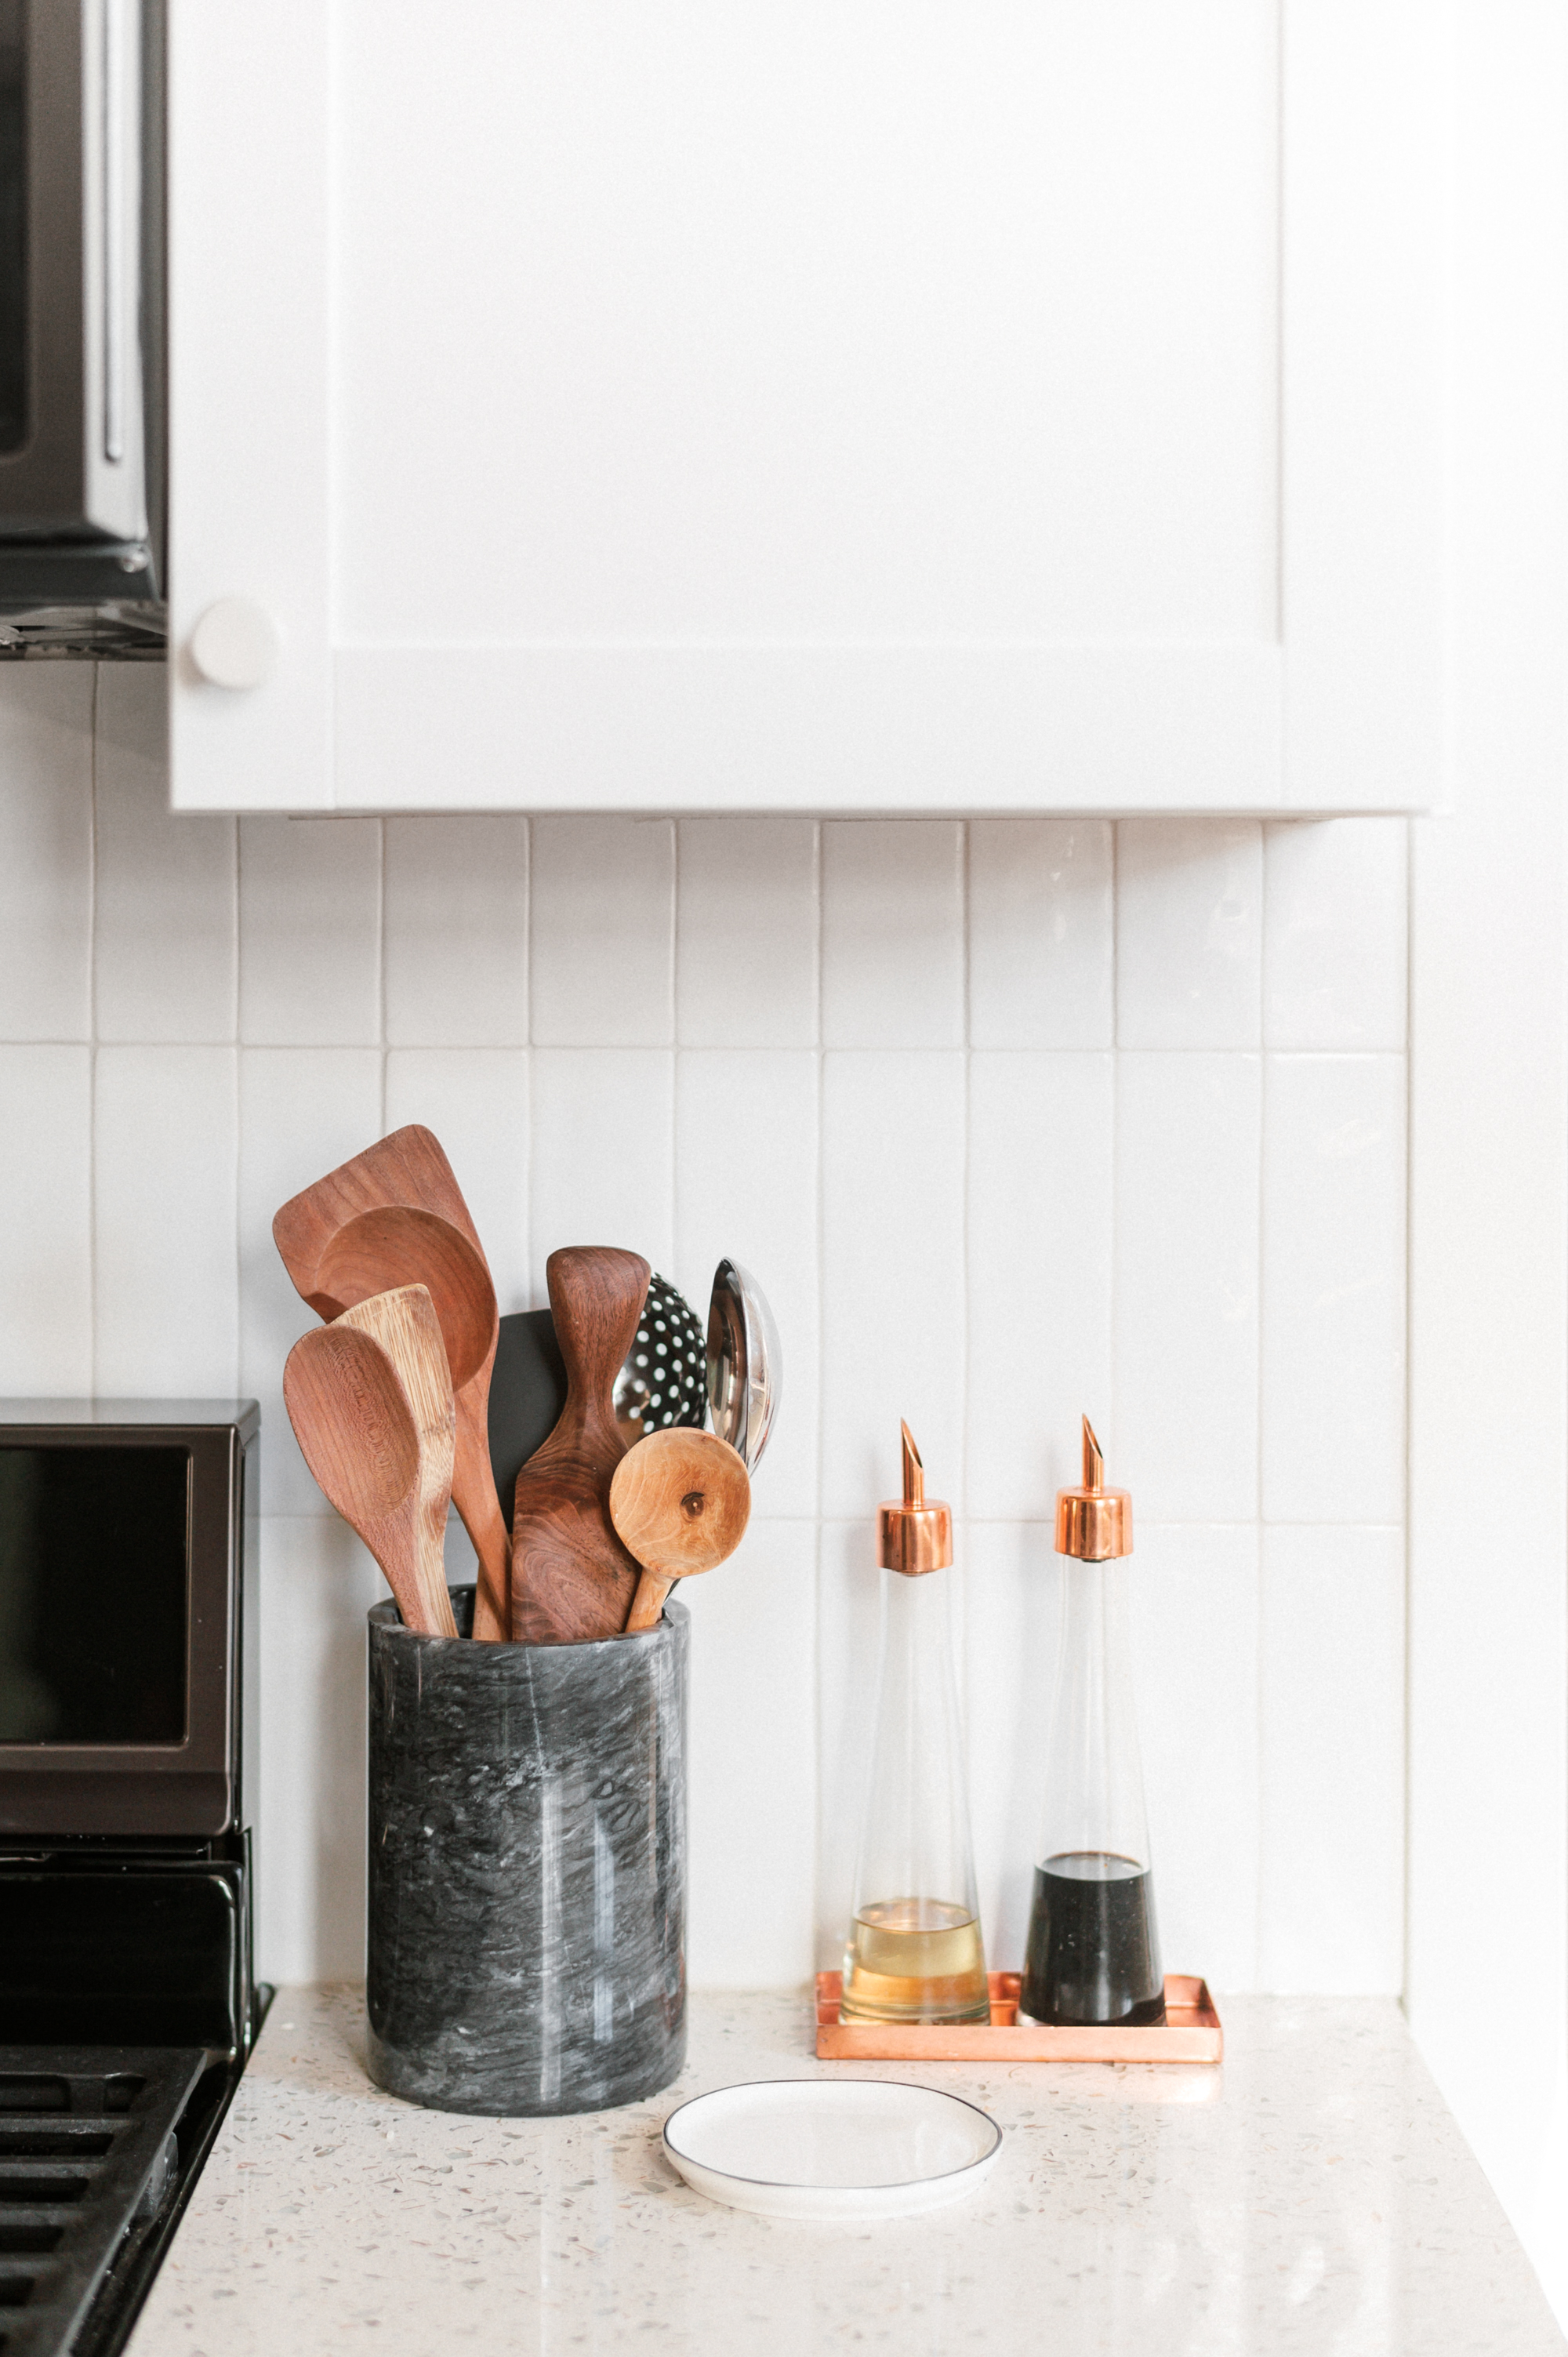
I love this tile. It’s subway tile with uneven edges for an artisan feel. I wanted to do something a little different with the subway tile and had Austin and his dad install it vertically. The tile going up the entire wall behind the sink was challenging for the guys but it really makes the space look special.

Austin and my stepdad tackled spraying the cabinets. The greyish-green color took a lot of swatches before we found the perfect one. The color is Valspar Granite Dust and we used Valspar Cabinet Enamel. The two tone palette feels subtle enough to have longevity. Plus, the coats of primer and paint make these stock cabinets even hardier.

I love this view of the kitchen. It’s what you see when you enter from the back door. I love it extra because it took a lot of trouble shooting and cabinet retrofitting for it to look this way. The cabinet above the microwave was going to cover the only heat register in the room. Initially I thought we’d just have to make this open shelves so the vent could be exposed. Instead, Austin cut a hole in the back of the cabinet and the top of the cabinet and redirected the ductwork to vent out the right side of the molding by the family room entrance. This looks so much better than having a vent and opening above the microwave.
Another way we custom fit these cabinets is with the top right cabinet. We were able to find all the cabinetry we needed on the Lowe’s website other than an 18-inch top cabinet. We had the 18-inch standard wall cabinet but needed the upper cabinet to finish the space. I order a 36-inch cabinet for this spot assuming that the double doors it came with would be the same or close to the same size we needed. We cut down 18-inches of the cabinet from the left seam and then placed the two remaining sides back together. It’s not the most beautiful on the inside but for holding excess baking supplies, it’s perfect for what we needed and you’d never know from the outside.

One of the things that delayed our kitchen reno schedule was our countertop order. We started the whole process by getting a quote for the counters. The plan was to get the final measurements done by the countertop contractors once the cabinets were in. Unfortunately the process wasn’t as smooth as we had hoped and late in the game, we had to switch countertop companies. We are actually so glad this happened. While it was hard to wait after we were ready for counters, we are SO much happier with the look of this Curava (recycled glass in resin) counter. I love it.
Had we chosen a less expensive countertop like laminate or butcher block, we could have easily stayed under our $6000 goal that we initially challenged ourselves with. However, the excess expense made for higher quality, longer lasting counters that elevate the look of the otherwise low-budget kitchen.


I was worried that painting the stiles of the windows black was going to be too much for the small space. It was one of the last things we worked on and I had gotten used to the look of the white windows against the white tile. Once again, Austin encouraged me to be a bit more bold and I’m so glad they contrast with the white. And the space still looks cheery and bright.
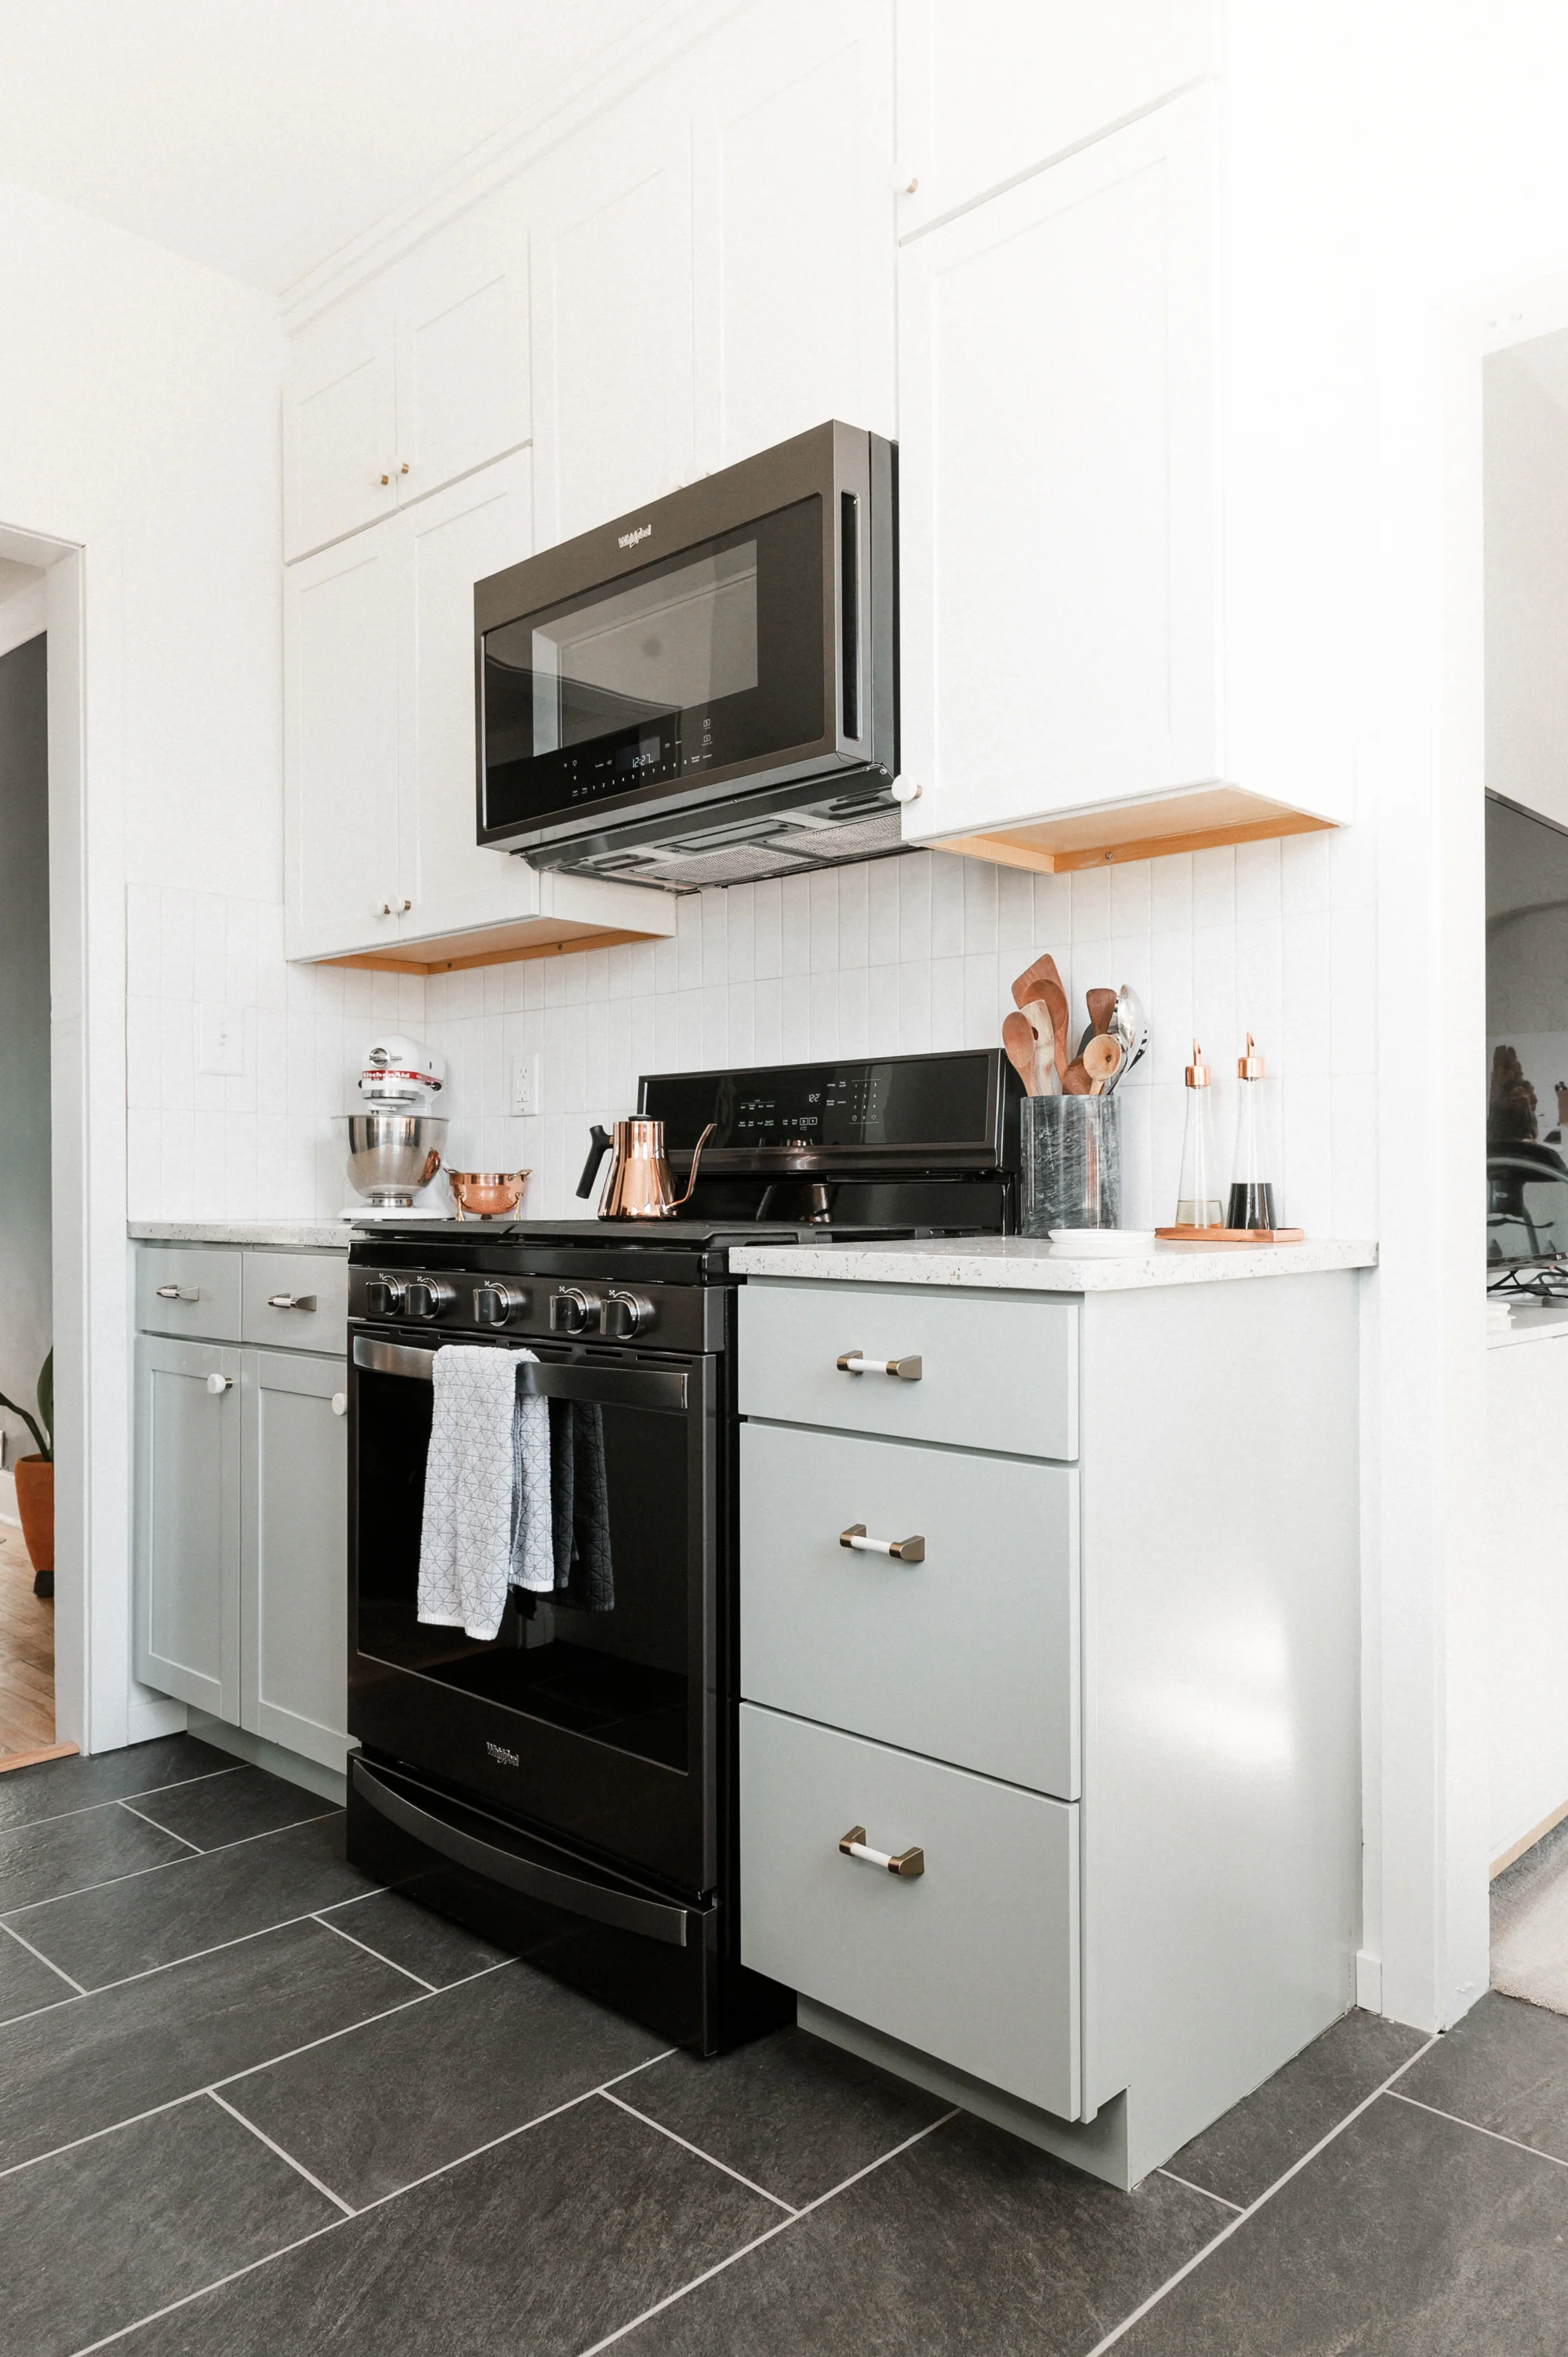
One of our goals was to incorporate our black stainless appliances to look cohesive and thoughtful in our design. Adding dark floors, fixtures and paint on the windows tied in the appliances in a way I really love.


These ivory pulls and knobs are one of my favorite finds for the kitchen. They feel special and pull in the brass of the light fixtures.
We are so proud of this kitchen. The plan was to see how much we could source from the hardware store and I can’t believe that we achieved all of our design goals with elements that feel so perfectly us from Lowe’s. The original timeline and budget might have gone a bit over but the end result is so incredibly satisfying.
This post was sponsored by Lowe’s. Thank you for allowing us to share about the brands we use and love during our home renovation process to help support our family and our projects. Even though we partnered with them, the thoughts and design are all my own.