Kitchen Progress + How To Install Stock Cabinetry
This post was sponsored by Lowe’s. Thank you for allowing us to share about the brands we use and love during our home renovation process.
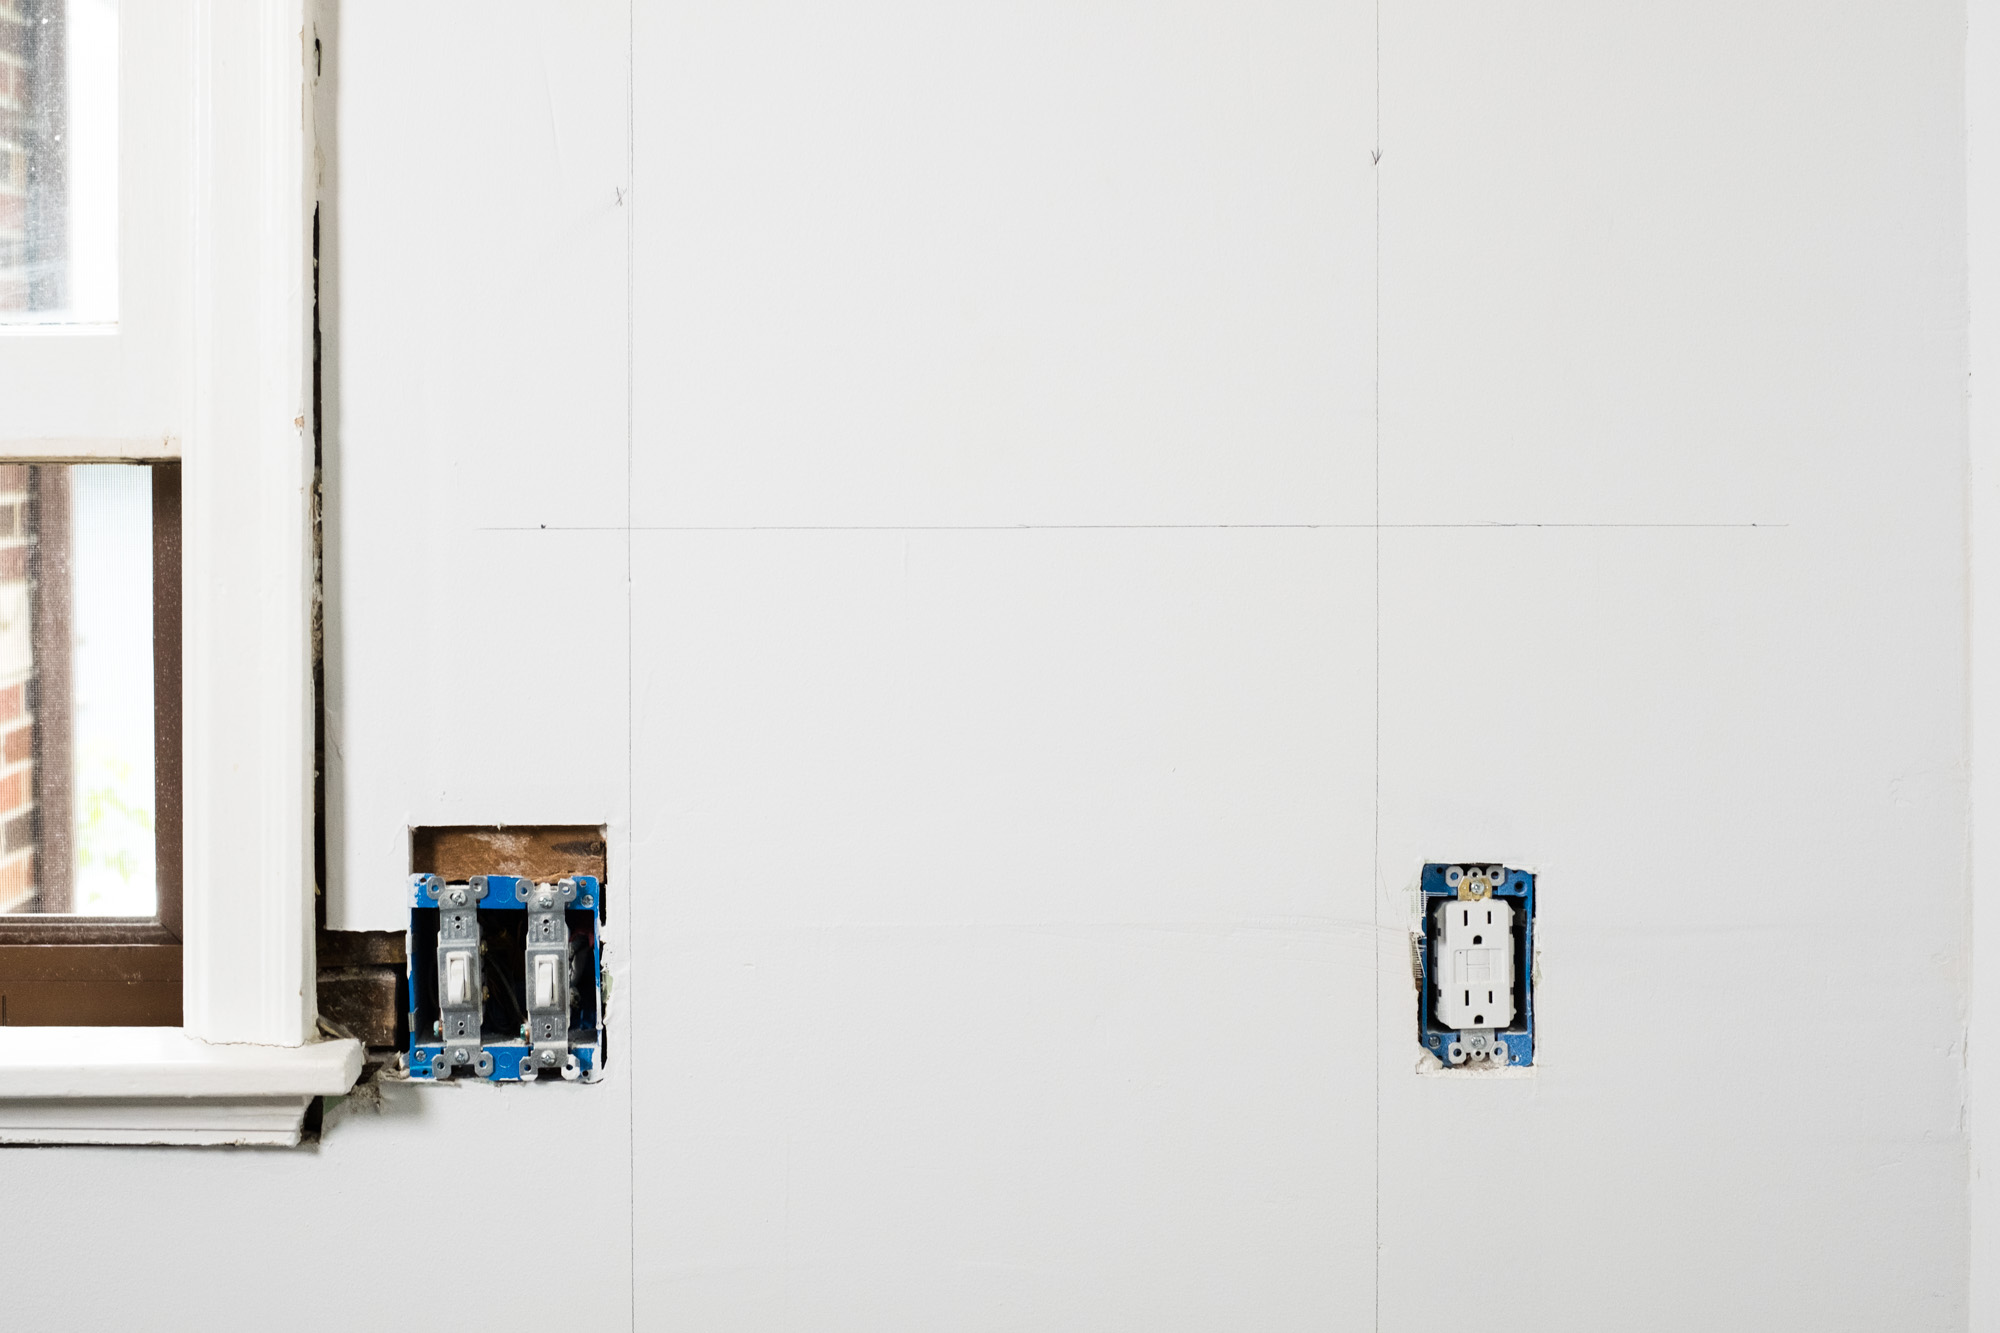
Our kitchen project has taken longer than we anticipated—Isn’t that everyone’s kitchen renovation story? When we took out the metal cabinets and flooring in August, we found issues with the walls and electrical that needed to be addressed before anything else could get started. Once those things were fixed, the tile floor went in (look for it in some of the photos and video, I love it) and we were ready for cabinets.

The state of our kitchen mid-August.
One thing that we did that made the stock cabinets we chose take a while longer is that instead of ordering them online and having them ship individually or a few at a time to our house, we ordered them through our local Lowe’s Home Improvement and they let us know when they were all there and ready for us. We rented a trailer and picked them up. Delivery might have been more convenient in some ways but it was nice to know our pieces wouldn’t arrived damaged and that they wouldn’t be showing up piece by piece for weeks.
Once the cabinets were in the house, they didn’t stay in their packaging long. A few days after we picked them up, they were installed in our kitchen (because of amazing help from family). It feels so good to have the new cabinets in place after designing and dreaming for months. The stock cabinets installed so easily that even if we hadn’t gotten started when we did and decided to right now — we’d still have ample time to have our kitchen done before the holidays since we’re doing it ourselves.

Step 1 / Find and Mark Studs
Finding the studs is easier said than done in a house built in 1900. Because our walls are made of lath and plaster, the stud finder was confused about what was a stud and what was lath behind the walls. Some walls were easy — especially where Austin and his dad had drywalled a few weeks before and knew where things were spaced — but other walls took exploratory work with a drill and some screws to find where the screws grabbed. From there we could usually measure 16-inches from the center (thankfully our house was built mostly with 16’s) but by doorways it was trickier. Marking the lines all the way up and down the wall is important if you’re installing upper cabinets above the base cabinets. It helps to have a 4-foot level and a pencil with an eraser for this step.
Step 2 / Find the high spot
Austin explains this step really well in the video so I’ll just leave it at this: with cabinets, it’s easier to add height than it is to take it away. Starting in the highest spot on the floor and marking a level line across the wall at 35 inches high (standard cabinet height without countertops) means that the cabinets will be level to each other, even if the floor dips and needs shims in some places. This step is essential if you don’t want your kitchen to look wonky.
Step 3 / Locate the position for the Uppers
With countertops, our base cabinets will end up being 36 inches tall. We wanted a 20-inch separation between the base and wall cabinets for our backsplash. From the level line for the base cabinets drawn around the room, we measured 21 inches to find our baseline for the upper cabinets. We double checked that this line was level. A note incase it isn’t obvious — measuring 56 inches from the floor might seem like an easy alternative but if the floor has any unevenness, the upper cabinets will start to angle while the lowers won’t.
Step 4 / Prep the Upper Cabinets
To get the wall cabinets ready to hang, remove the doors. In our kitchen, we have crazy tall ceilings so to utilize storage potential, make the cabinets feel more custom and to have the scale match the space, I designed the kitchen to have 14-inch tall wall cabinets placed on top of the the standard 30-inch tall cabinets. To make things easier to install, more durable and polished, Austin and I clamped the units together, making sure to keep the cabinet faces flush, and then joined them with counter-sunken screws. Installing the upper cabinets first is the way to go—You don’t have base cabinets in the way and with our layout, we needed to install the corner cabinets a little away from the actual corner so that the doors would open without interference from the window and doorway trim. We did this by securing a 1x2 to the wall to set the cabinet off a bit. To keep symmetry, we did the same to the cabinet of the same size on the opposite end of the wall. We might not have thought of that if installing the base cabinet below the window first.
Once you know where the cabinet is going to sit on the wall, mark where the studs will be on the inside of the cabinet with the use of a measuring tape and a pencil.

Step 5 / Brace and Align
Under the marked line from step 3, align a 1x2 or any scrap piece of lumber that has enough of a surface to temporarily help brace the upper cabinet in position. Fasten it with screws into the studs. This brace not only helps when you lift the cabinets into place, it also keeps the cabinets all at the same height and level without needing to spend time adjusting while holding a heavy box up to a wall.


Step 6 / Double Check and secure
Check to make sure everything is plumb and adjust as needed. Our braces and the cabinets themselves made this substep easy as everything kept coming out perfectly level. My step-dad Doug held the cabinet in place while Austin drilled pilot holes in several places along the studs with a countersink drill bit and then screwed it into place with cabinet screws.

Step 7 / Lower Cabinets
Lower cabinets are easier in some ways because you don’t have gravity working against you and because you have uppers to guide where the lowers should go. Start in the high spot again and set the first cabinet. Our first lower was a lazy susan that had to be attached to the cabinets on either side of it to be installed so we fastened them together the same way the upper cabinets were secured together — clamps, countersink drill bit and screws. For some of the smaller units, we joined them together before installing to make shimming easier.
Each cabinet positioned, checked for level, shimmed if necessary and then screwed into the studs with cabinet screws in multiple places.


We did some fancy work retrofitting a regular wall cabinet into a built-in surround for the refrigerator but that is an entire post in itself so I’ll save that for another day. Thanks for following along on this fun home adventure with us!
SOURCE LIST
DIAMOND ARCADIA SINK BASE
DIAMOND ARCADIA 14” UPPER CABINET
DIAMOND ARCADIA 30” Upper CABINET
DIAMOND ARCADIA BASE CABINET
DIAMOND ARCADIA BASE CABINET WITH DRAWERS
DIAMOND ARCADIA LAZY SUSAN CORNER CABINET
DIAMOND ARCADIA 24” Upper CABINEt
CHARCOAL PORCELAIN FLOOR TILE
1”x2”x8’ Furring Strip
Johnson 48-inch MASONS LEVEL
IRWIN QUICK-GRIP 6-inCH CLAMPS / 2 Pack
#8 XL Cabinet Screws
Tape MEasure
Dewalt IMPACT DRIVER
Dewalt 20-Volt CORDLESS HAMMER DRILL
2-Step Gray Steel Foldable Step Stool