Color Blocking the Nursery Walls
Our home is technically 3 bedrooms but the master bedroom is only accessible through another bedroom so it's a little wonky that way. Thankfully, the bedroom at the front of the house is gigantic and currently has a full bed for guests on one side of the room and a sitting area complete with a couch, chair and coffee table on the other half. We will have plenty of bedroom space for the next few years even without the middle bedroom. But the pass-thru bedroom still needed a purpose--it was going to be the perfect home office and then nursery (and if you haven't heard, the nursery is needed much sooner than we expected! Baby Day coming soon!)
Today I'm sharing how we used color to completely transform the nursery. It was a low cost project that only took a day.

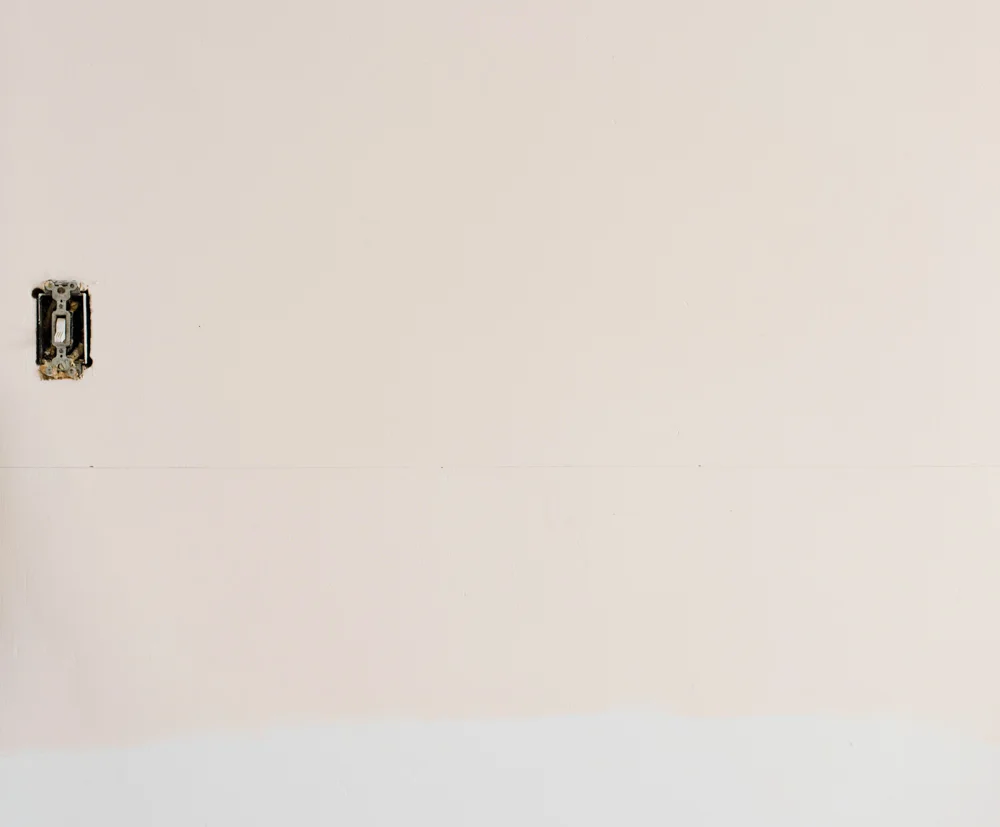
The nursery before.
We started the process of making over the room by removing the wallpaper. It wasn't an easy task. The wallpaper had been applied directly to the plaster walls without any primer or paint in between decades and decades ago (I'm guessing the 40s based on when other renovations took place in the house). My friend Layla and I spent a weekend with clothing steamers removing the wallpaper and backer in tiny, gluey chunks. It was a humid and sticky operation but it felt so good to get it accomplished.


The next stage was to choose the wall color. Our main living area and master bedroom both were painted white when we first moved in. I think those spaces feel airy and have enough color with the furniture and accents we've chosen to have personality and depth. But between always being on the hunt for bold rooms to feature on Design*Sponge and the gorgeous pieces I get to work with for Moglea, I craved some colorful spaces sprinkled throughout our house. This small room that would one day be a playful nursery was a perfect spot for a little rebellion from the traditional feel of our house. Not only did I want it to be colorful, I wanted it to be color blocked. We chose we chose a pretty terra-cotta--HGTV HOME by Sherwin Williams Salmon River Run--for the bottom and a light, yellowy peach--HGTV HOME by Sherwin Williams Nearly Peach--for the top, both found at Lowe’s.
Austin patched and primed the walls, painted the trim and installed new crown molding. It was ready for paint. I hadn't really thought about how tricky it was going to be to tape off the walls and not have bleeds under the tape. Thankfully, Austin did his research.
The first step was simple--paint the lighter, top color on the upper two-thirds of the wall.


The next step was to measure and mark 42" from the ground up along the walls. I chose the height of 42" based on what felt natural to me. Counter height at 36" felt too low and 48" seemed too split down the middle of the 8 foot walls. 42" was an easy number to work with and made sense for our space.


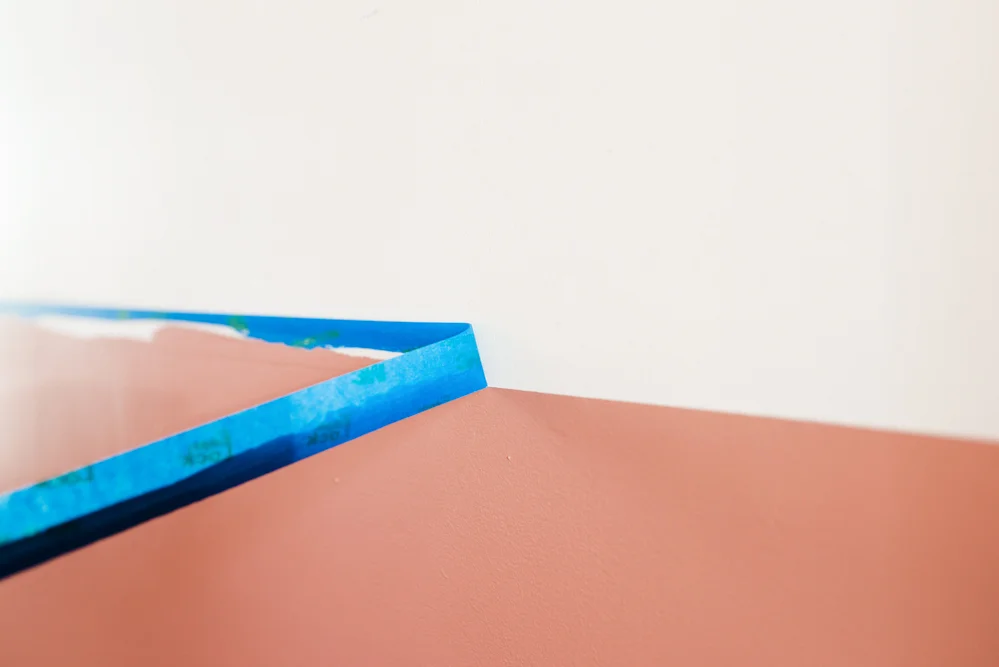
From there, Austin used a Johnson level to check his markings and to draw a straight line across each wall with pencil. We used 3M painter's tape to mask off above the pencil line.


Here's where Austin got fancy and saved us SO MUCH TOUCH UP TIME: After applying the tape securely to the wall, we used a brush with the top color to paint over the bottom edge of the painter's tape in hopes of filling in any space or air bubbles in the tape that the bottom color could be pushed into.


After the peach under the tape dried, it was time to work on the lower half of the walls. The darker color was carefully brushed onto the edge of the tape and then we rolled the paint on the rest of the area with a Blue Hawk metal paint roller and Purdy roller covers.


After cutting in the wall edges by by the trim with an angled Purdy brush and letting everything dry for an hour or so, the tape was removed and revealed the most beautiful straight line with very few spots needing touch ups.
It feels so good to have this room ready for our little babe. We purchased a vintage rug that has all the right colors, ordered a modern crib, and have our eyes on a reclining glider and changing table to finish furnish the space. I can't wait to share the finished nursery with you all but in the meantime, we hope you enjoyed this easier-though-more-technical-than-we-thought color blocking project that we absolutely love. It's exactly how I hoped it would look.

Here's the short hand of everything you'll need and everything you'll need to do if you want to try it out for your own walls:

TOOLS NEEDED
2 Paint Brushes
2 Paint Rollers
2 Paint Roller Covers
Paint Tray
2 Paint Tray Liners
1 Gallon HGTV HOME Sherwin-Williams Paint in HGSW2075 Salmon River Run
1 Gallon HGTV HOME Sherwin-Williams Paint in SW6336 Nearly Peach
Drywall Square or Measuring Stick
Pencil
48-in Level
Painter's Tape
STEPS
1. On a clean or freshly primed wall, paint the top area 2/3 of the way down with lighter color.
2. Once dry, measure and mark 42" from the floor in multiple spots on the wall.
3. Use a level to create straight lines with a pencil from wall end to wall end.
4. Apply painter's tape above the pencil line, keeping the tape secure and without air bubbles on the wall.
5. Use a brush to apply the lighter color of paint to cover the bottom edge of the tape. Allow to dry.
6. Use a brush to apply the darker color of paint to cover the bottom edge of the tape.
7. Apply paint to the the rest of the lower portion of the walls with the darker color.
8. Carefully remove tape within 2 hours of painting.
9. Touch up with a small paint brush, if needed.
This project was done in partnership with Lowe's. The design, project and thoughts are my own.