Long Weekend Bedroom Makeover
This post is a paid collaboration with Lowe's Home Improvement. All opinions are my own.
If you've been following along for a while, you know we have a lot of projects going on all at once. Like A LOT. It's been hard to know how to prioritize our time and what rooms to work on. A few weeks ago we ripped out the kitchen but due to some electrical problems we needed to address, things were put on pause. The family room is on pause until the kitchen is done and the guest bathroom is on pause until we get a new vanity and get a plumbing issue resolved. With less than 3 months left before Baby Day comes, we moved our focus to a smaller project that we could knock out over a long weekend.

The week we moved in, my mom and sister-in-laws helped me paint the celery green master bedroom white. Then a few days later, Austin and I unloaded all the bedroom boxes and furniture from our apartment and called it good. It was a place to sleep while we focused on our main living space projects. While somethings have changed a little in our bedroom since we moved in, we hadn't made the effort to actually design it. Every day I woke up and looked at the place where the original ceiling trim came down, the mirror and artwork shoved along the wall, the rug that was too small for our much bigger room and awkwardly scaled furniture and accessories all trying to work together. With everything else at a stand still, we decided to spend 3 days making over our master bedroom.


Our list of goals we started the 3 day makeover with:
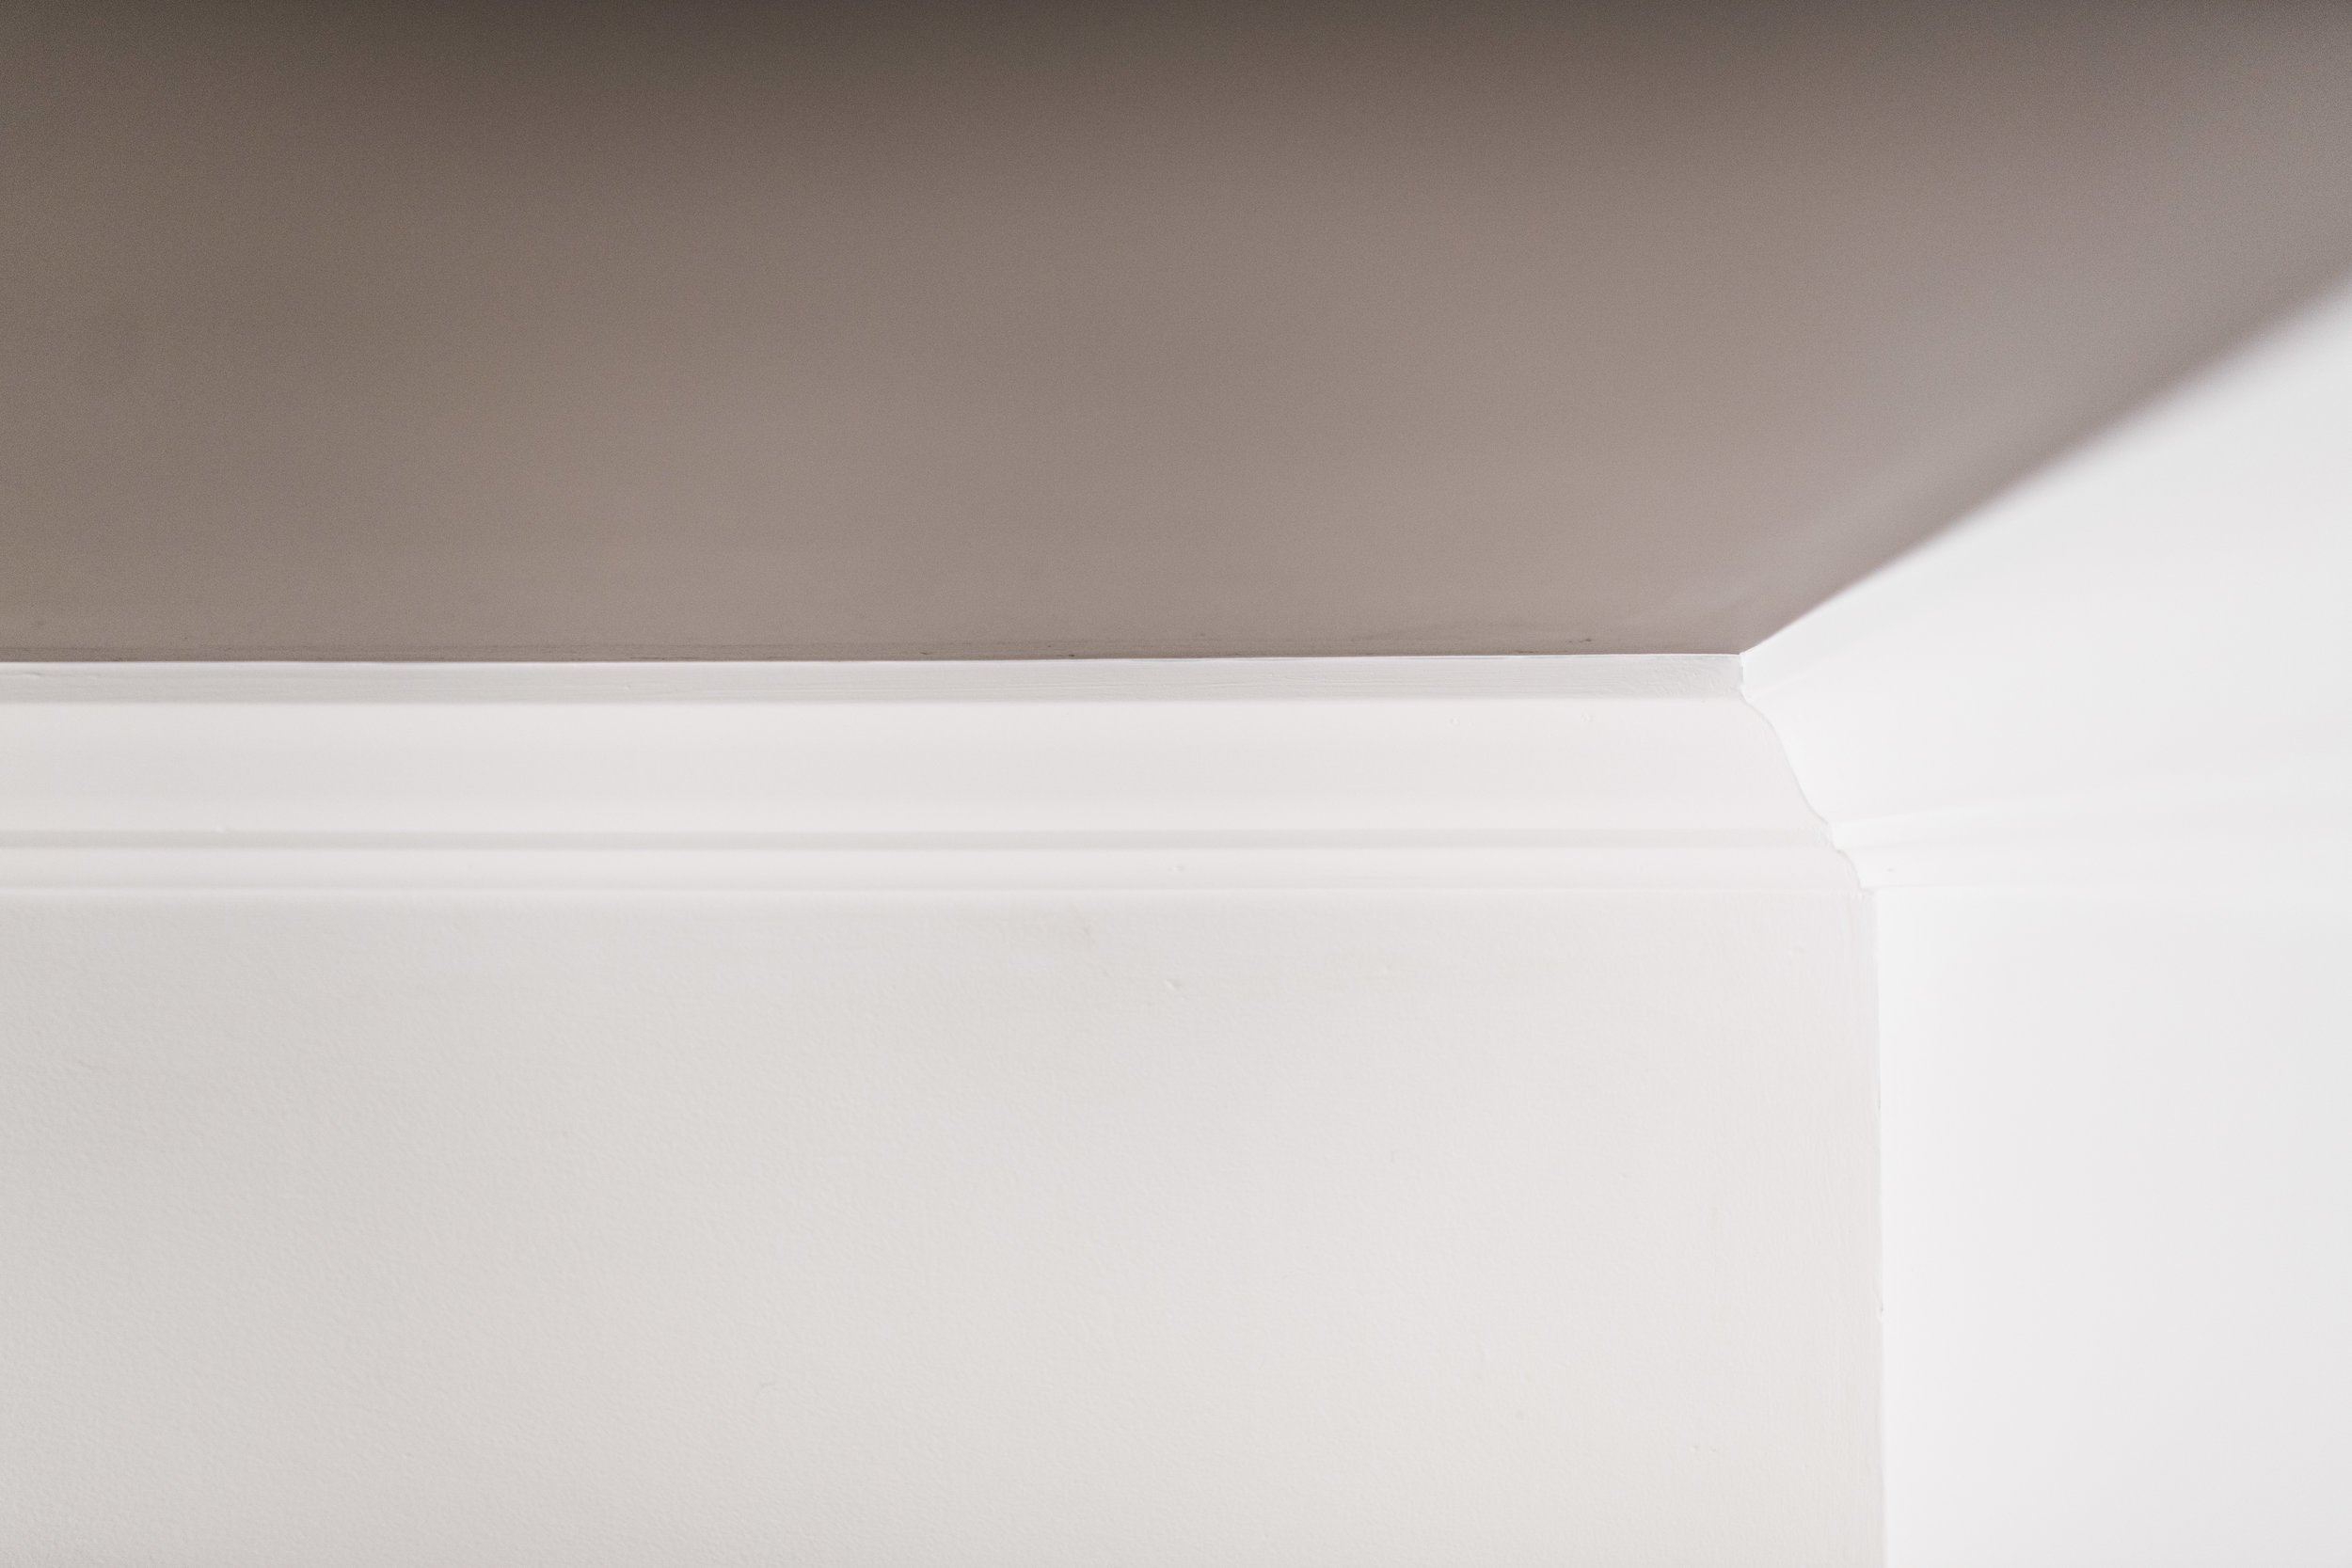
install new crown moulding
paint ceiling
paint trim
remove bed box spring to lower bed height
reupholster headboard
replace 8x10 rug with a 9x12 rug in lighter color
hang artwork
add accessories and plants with larger scale
hem curtains
semi-refinish Austin's dresser surface
remove window air conditioner unit
While these all are relatively small projects, it really did take us all three days to accomplish the makeover. Installing the crown moulding, reupholstering the headboard and painting the ceiling/crown took the most precision and time. I'll write in-depth posts for each of those projects to give more insight but I didn't want this post to be 7000 words either. So here's the gist of what we did with process photos and the final reveal at the end!
DAY 1
The first step was clearing out the room other than the bed and dressers. Once that was done, I started with the headboard (mostly because I was really excited to use our new pneumatic Arrow staple gun) and Austin and his dad started on the crown moulding. That afternoon, Austin and I ran to Lowe's to get plants, pots, soil and ceiling paint. Austin potted the plants while I started painted the crown white. (Tip: We painted our living room, dining room and bedroom walls the same color and finish as the baseboards and moulding with white flat paint. It saves so much time not having to worry about cutting in everywhere and it looks so good monotone. One thing I had worried about with flat painted walls and trim was that it wouldn't be as wipeable but so far, so good.)


DAY 2
On the second day, I finished painting the crown and moved onto the door and window trim. Austin rolled the ceiling while I cut in the ceiling color by the crown. The ceiling color was a last minute call. The ceiling before was a semi-gloss off-white so we both knew it would look better painted. I assumed that we'd just paint it with the standard ceiling white. Austin was more daring. He encouraged me that having depth to contrast with the new crown moulding and lighter colored accessories would work beautifully and after a few hours of getting used to the idea (it takes a bit for my mind to readjust, especially when it comes to design changes). I'm so glad he wanted to do a dark grey -- it's my favorite part of the final space. We chose HGTV Home by Sherwin-Williams paint in Dovetail. After the ceiling and crown touch ups, we lightly sanded Austin's dresser and gave it a few new coats of white paint to cover areas that the paint had been scratched during the move. Austin hung the mirror over my dresser while I worked on hemming the curtain panels.


DAY 3
The last day was all about putting the room back together. After cleaning the floors, we took out the 8x10 dark grey rug and replaced it with the 9x12 creamy rug. We centered the bed and headboard on the wall and placed the nightstands on either side. I put up the curtain panels while Austin hung artwork with picture hangers. After that, we placed new, larger-scale bamboo lamps on either side of the bed, added plants to the room and dug out decor that we've been storing. After some tweaks and final touches, we finished the afternoon with a beautiful, finished bedroom.

It's incredible how much bigger this room feels now with a standard height bed, a rug the right size for the room, accessories that balance the space, lessened contrast by introducing more mid-tone and light neutrals, art on the walls and gorgeous crown and ceiling color. Everything looks so great and I'm so glad we took the time while we had it to finish this room.


Stay tuned for the how-to's behind the crown moulding, headboard, choosing a rug for the size of the room and getting a crisp line when painting the ceiling a contrasting color to the crown.
This project was done in partnership with Lowe's. The design, project and thoughts are my own.