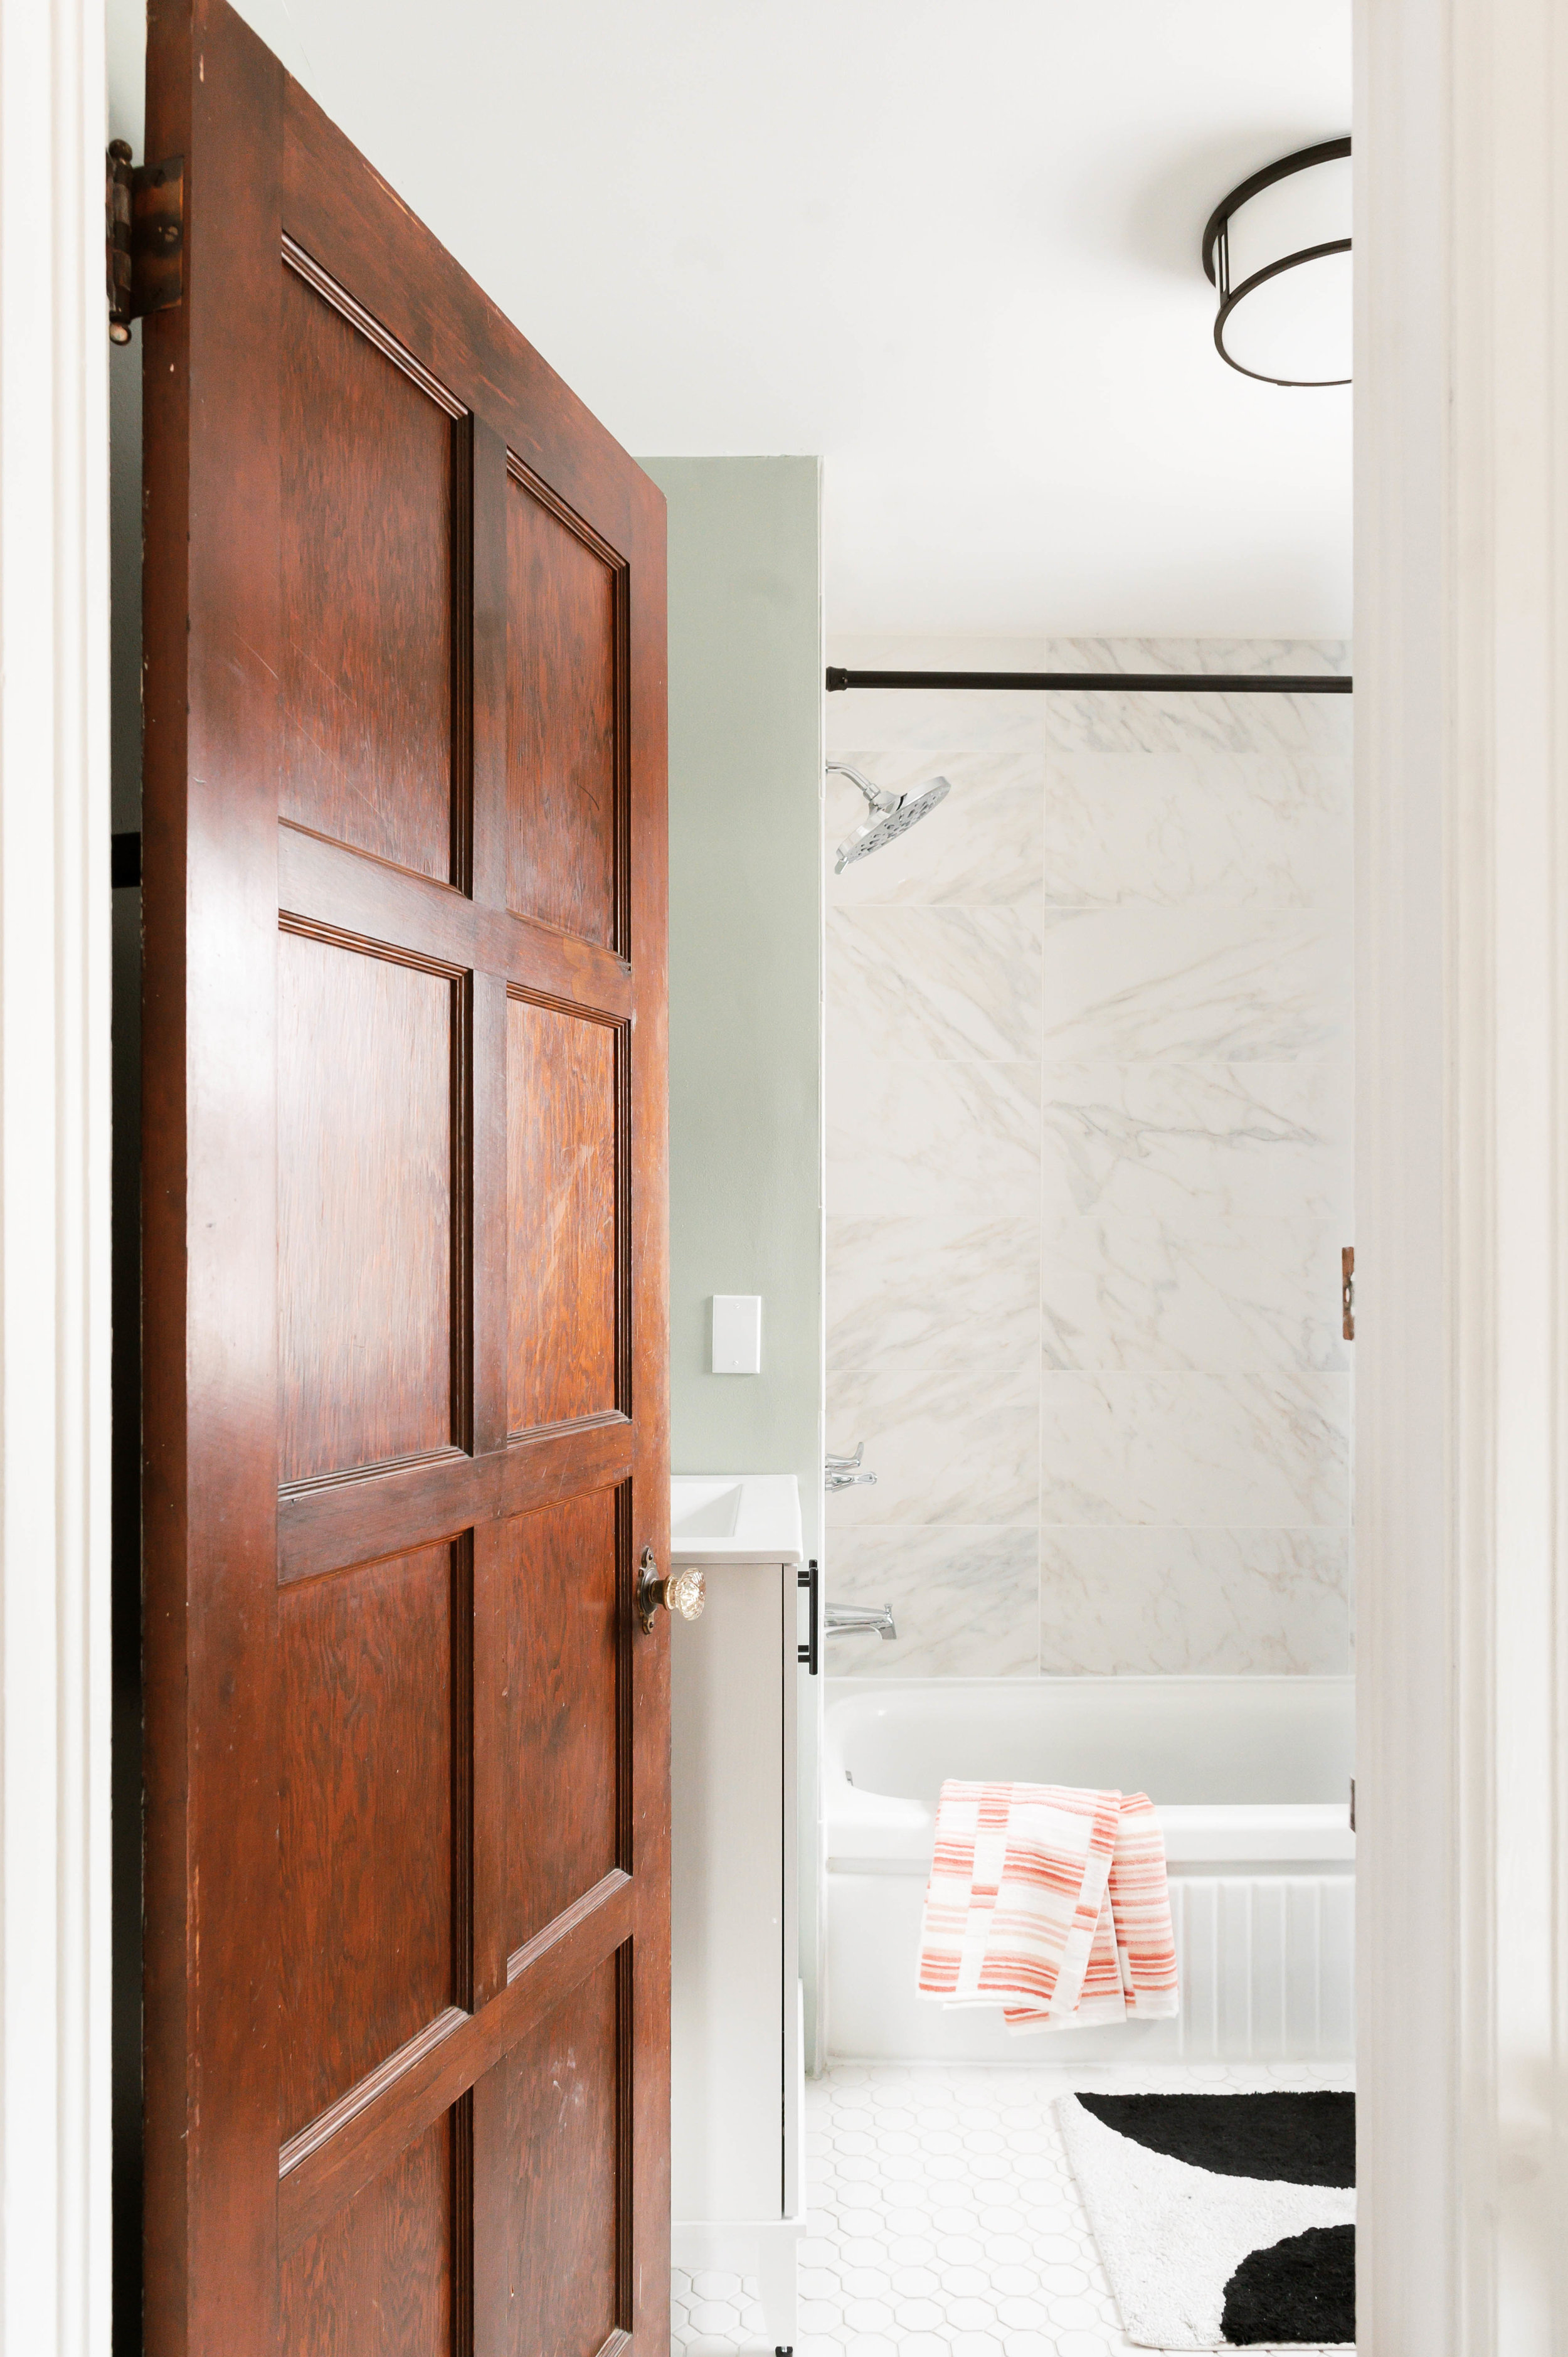
The Guest Bathroom Before & After
The guest bathroom has been the longest running project in our house to date. Since we were trying to save on plumbing work, we had a plumber do the upstairs guest bathroom when he was here to do things in the basement and kitchen last January. We opened up the walls behind the bathtub and sink for him to run new lines. A few weeks later, Austin and our friend Jeremiah ripped out the rest of the plaster.
With the walls open, Austin and his dad rerouted an air vent opening from the shower wall to the sink wall. Why the air ducts in both upstairs bathrooms vented into the showers is confusing but at least the guest bath isn’t like that anymore. Once that was done, Austin drywalled and mudded the room. Sometime last spring we tiled the floor after dark and when it was way too warm. I couldn’t keep up with the rate the grout was drying and ended up scrubbing too hard in spots and it unfortunately shows. Once the tile was down, Austin installed the toilet and put up the baseboards. We painted the walls and the trim.
Things kind of slowed after that. We realized that all the water lines our plumber ran to the bathroom were hot lines so not only did the sink and shower not have cold water, the toilet was filling with piping hot water. Not ideal. So we got frustrated and focused on other projects.
A year after we started on this room, we finally started finishing it. Like the rest of the house, it was important to find pieces that fit our aesthetic but also fit our little budget. The vanity, tile, mirror and fixtures look so great together but they were also inexpensive purchases from our home improvement go-to, Lowe’s.
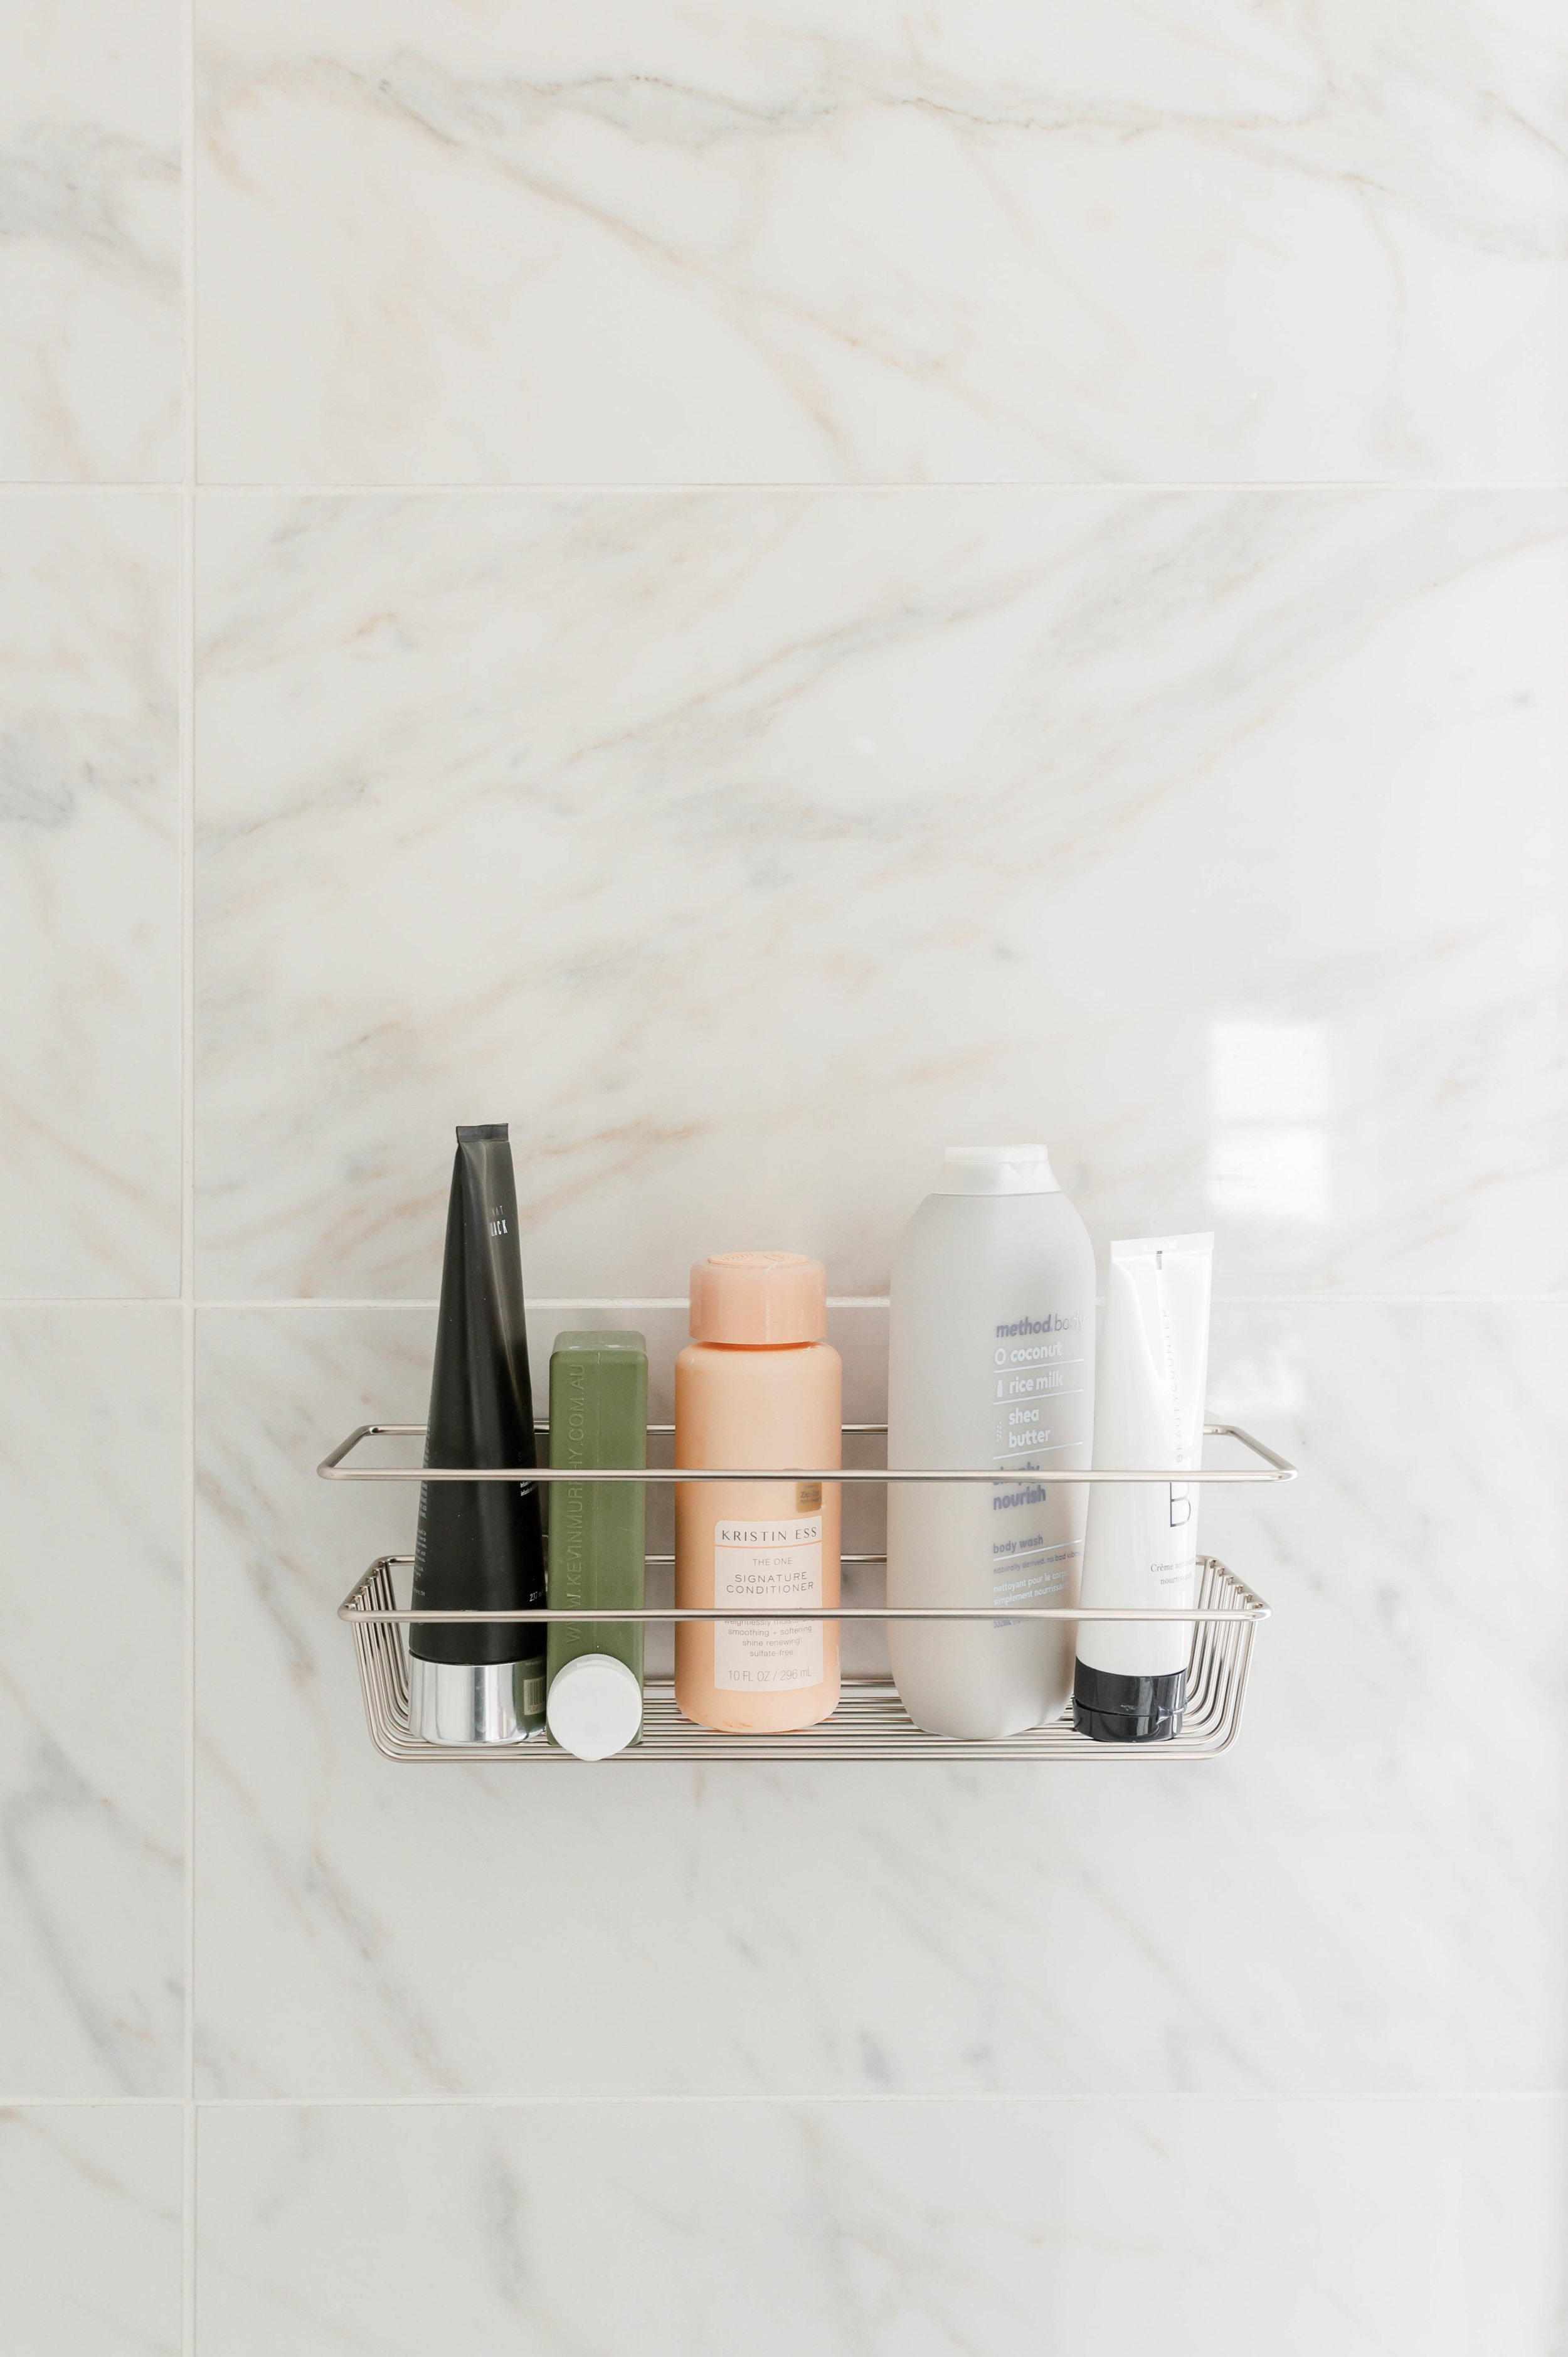
Things got started again with Austin and his dad applying 12x24-inch tile to the walls around the bathtub. I knew it was a job that intimidated Austin so choosing a large scale tile meant there’d be fewer tiles and less time required. After two half days, the tile was on the wall. (And it looks so good.) Next, we installed the vanity, put up the mirror, installed a shelf we had used in the kitchen before the remodel, added hardware for the tissue and towels, and installed the overhead light.
I’d love to say the space is finished but someday this year we’d love to install a light over the vanity but the electrical isn’t there yet. And I’d love to redo my mistakes on the floors. But it’s now functional, clean and pretty so it’s finished in the way it needs to be.
Now that it’s pretty and functional, it’s going to be our main bathroom for showers and getting ready as the master bathroom is next on the list for a full gut and remodel. It’ll be a giant, expensive project so most likely slow moving so it’s so nice to have this other full bath done and ready for us and our overnight guests.


MATERIALS
Brainerd 3-3/4-in Center to Center Flat Black Rectangular Bar Cabinet Pull
allen + roth Polyester White waffle Patterned Shower Curtain 70-in x 72-in
Moen Align Matte Black Single Towel Bar
Moen Align Matte Black Surface Mount Pivot Toilet Paper Holder
Moen ENTHRALL CHROME 5-Spray Shower Head
Moen Gibson Chrome 2-Handle Bathroom Sink Faucet
Progress Lighting Replay 3-Light 22-in Black Vanity Light
Bellaterra Home 22-in Black Rectangular Bathroom Mirror
Moen Align Matte Black Single Hand Towel Bar
TRUE PORCELAIN CO. Arabescato Gold Polished 12-in X 24-in Porcelain Floor And Wall Tile
TRUE PORCELAIN CO. Arabescato Gold Porcelain Bullnose Tile
This post was sponsored by Lowe’s. Thank you for allowing us to share about the brands we use and love during our home renovation process to help support our family and our projects. Even though we partnered with them, the thoughts and design are all my own.